Re-working Color and Tone in Photoshop for Enhanced Impact
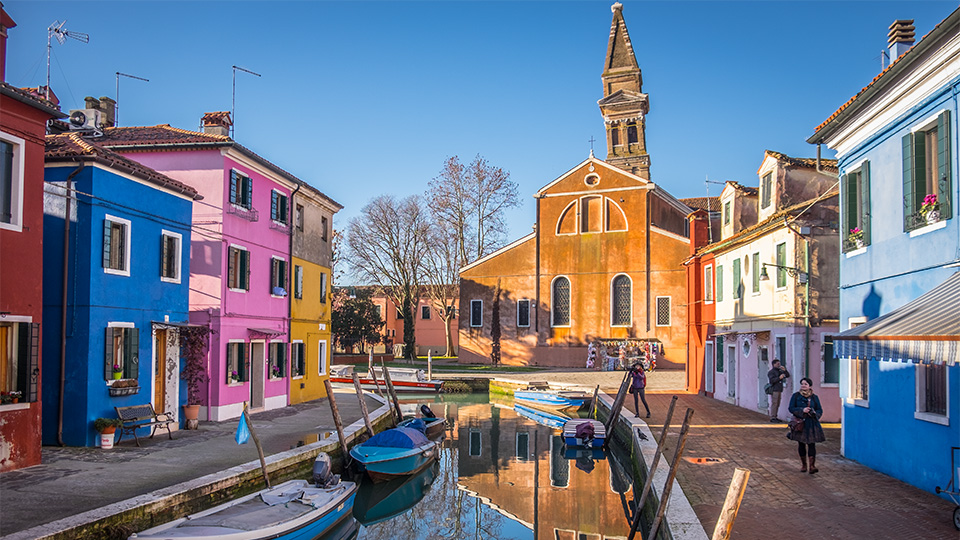
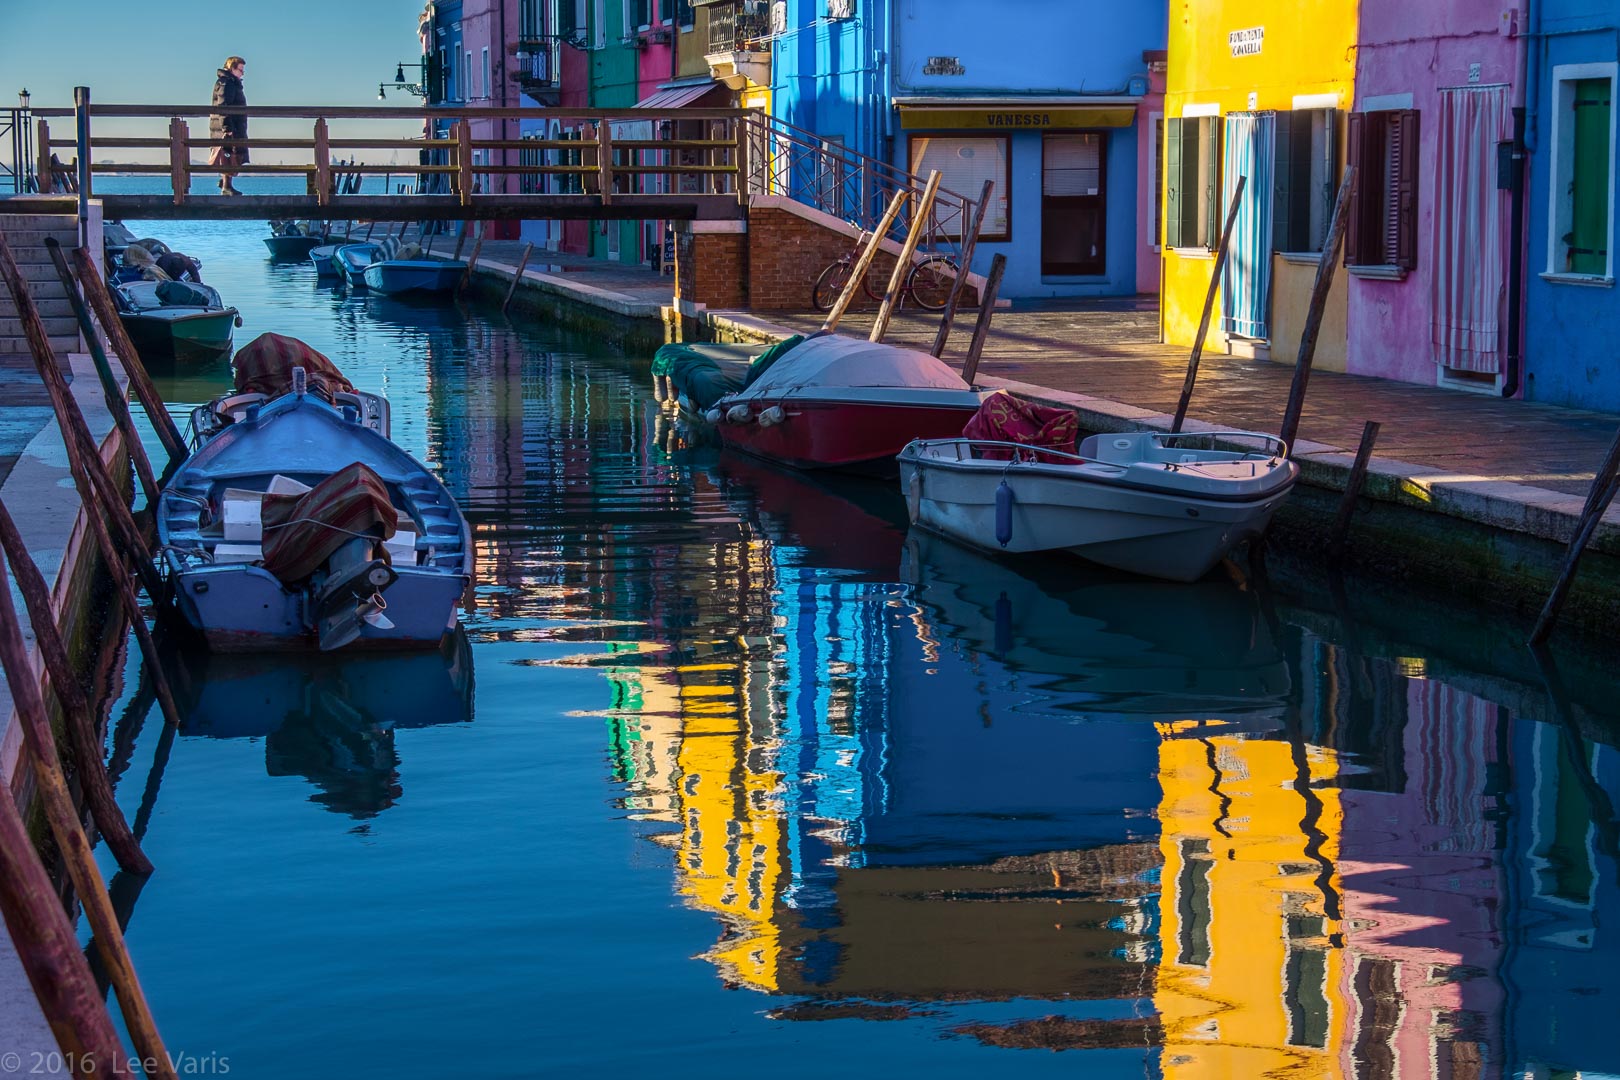
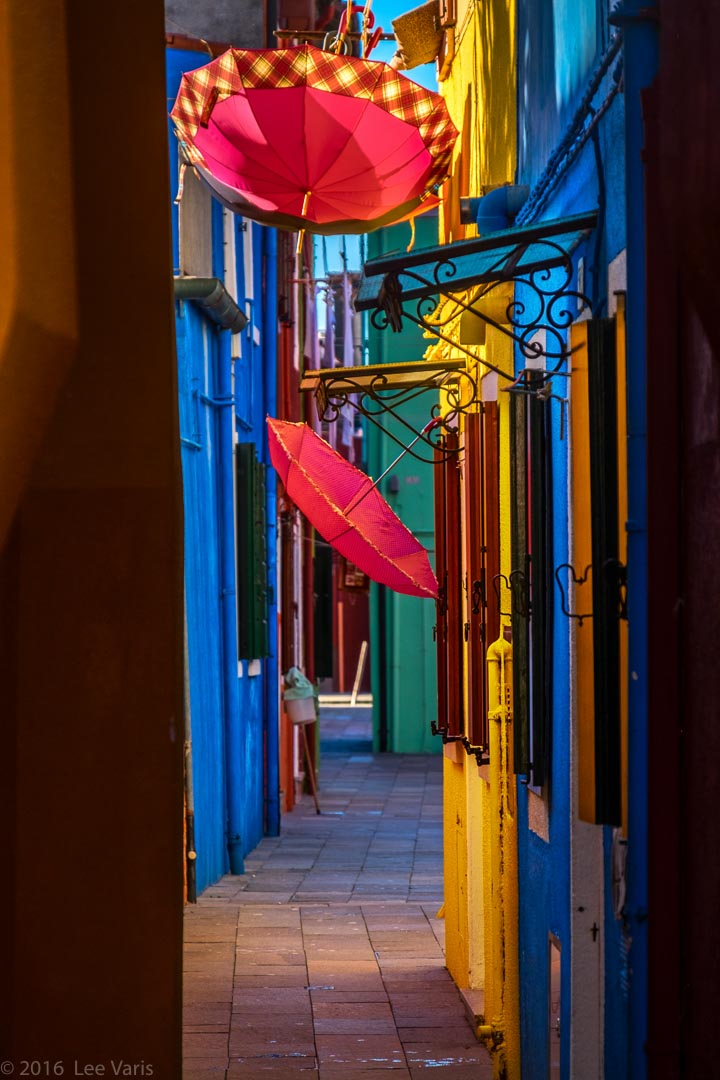
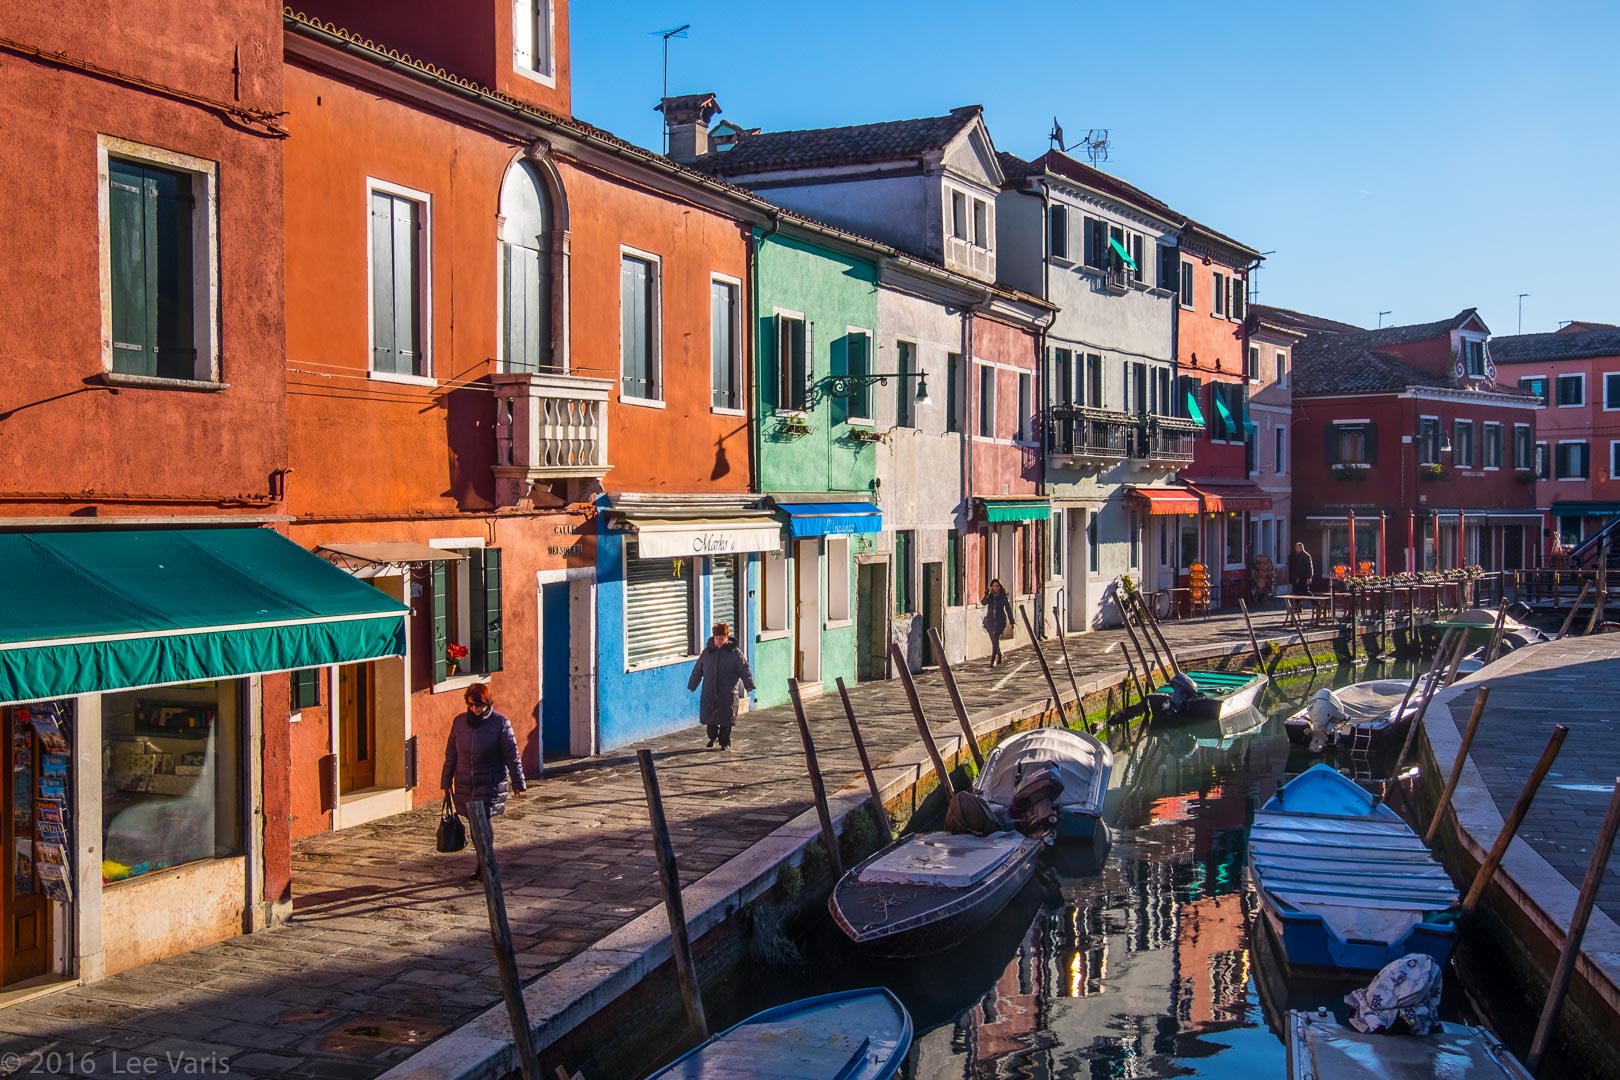
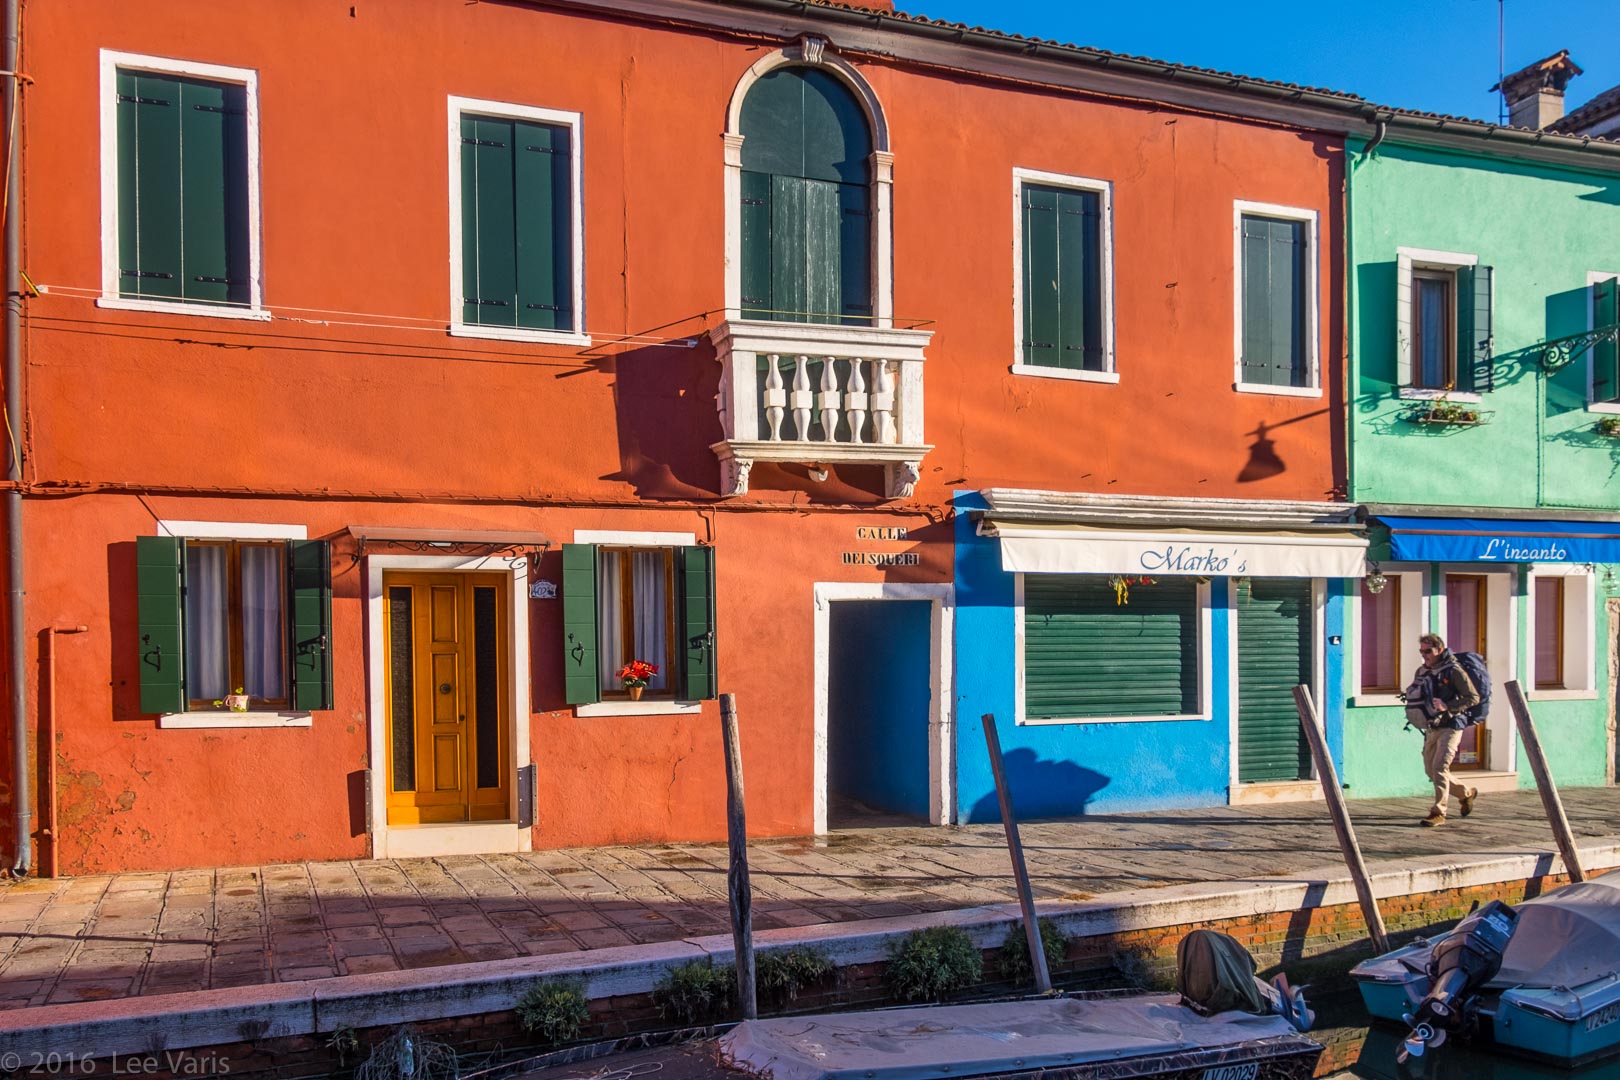
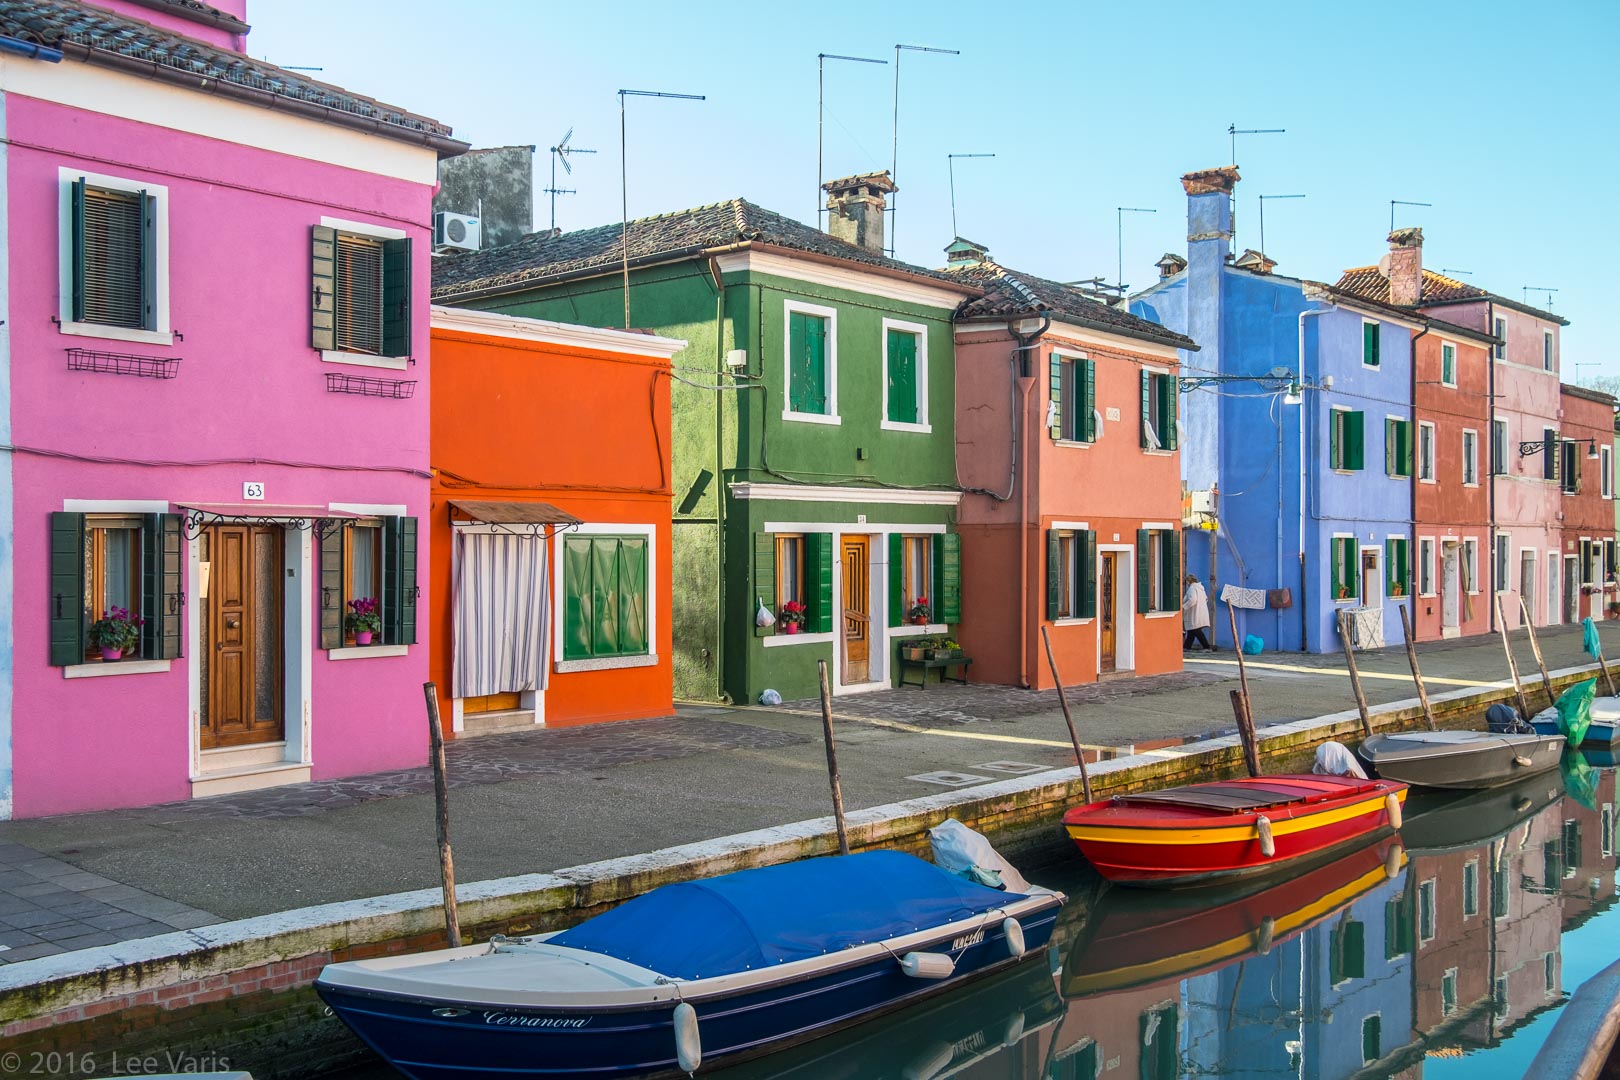
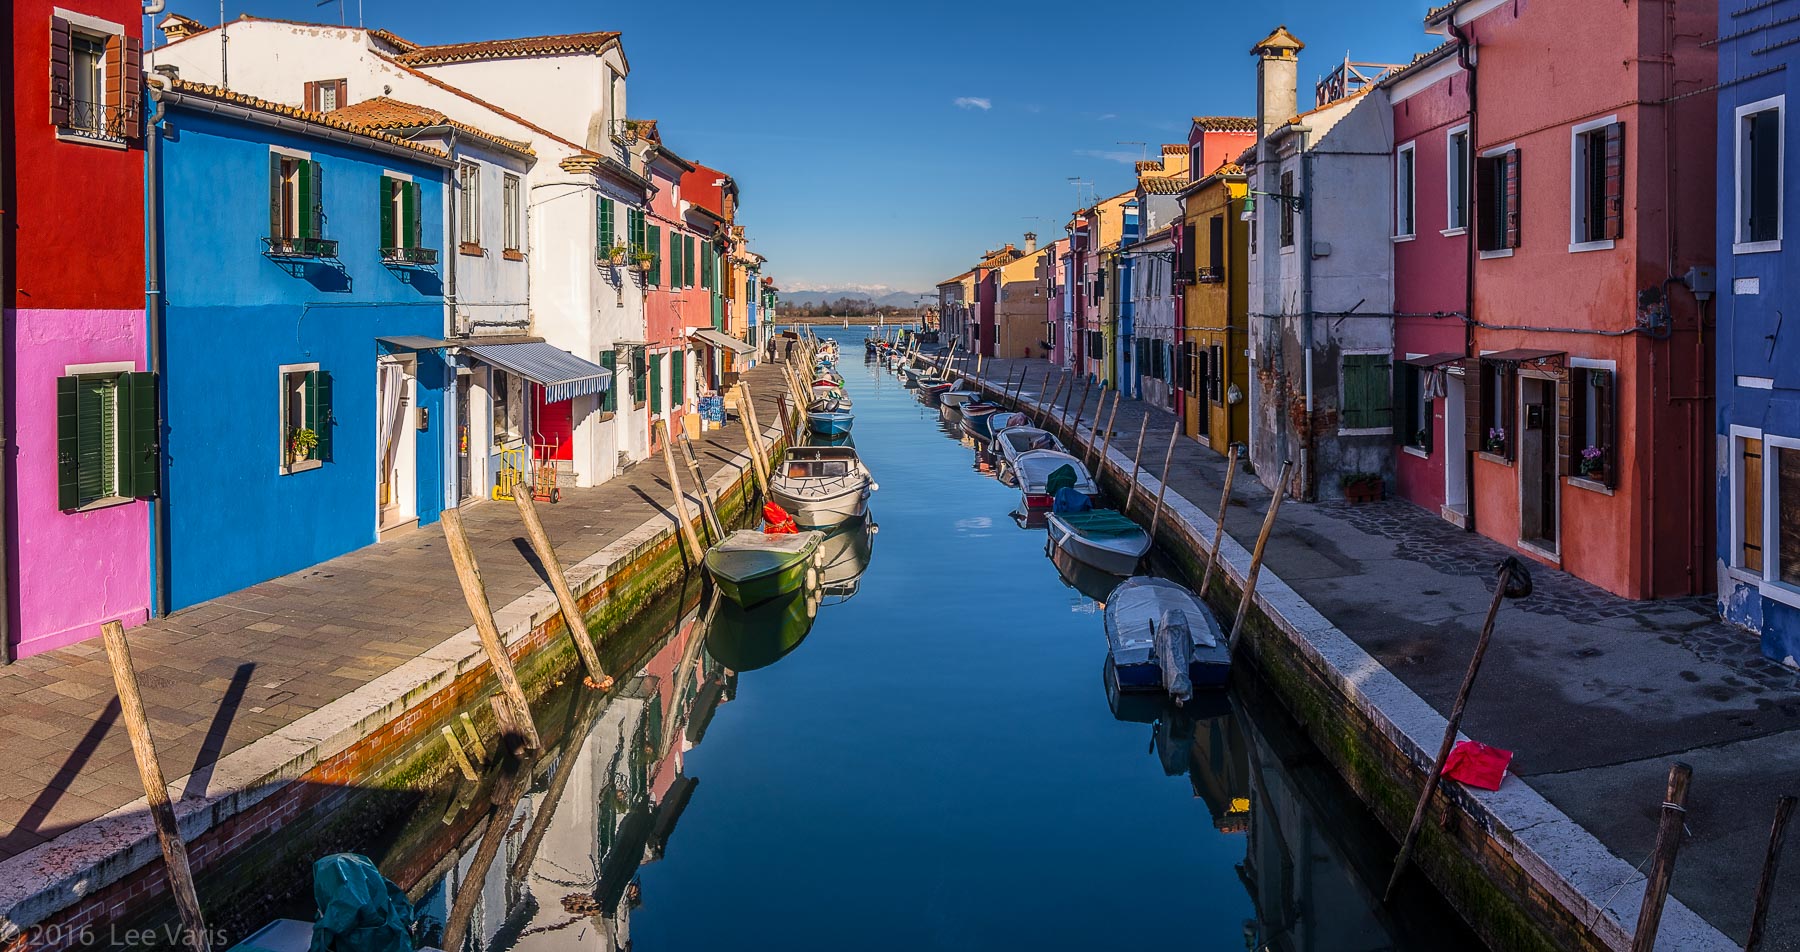
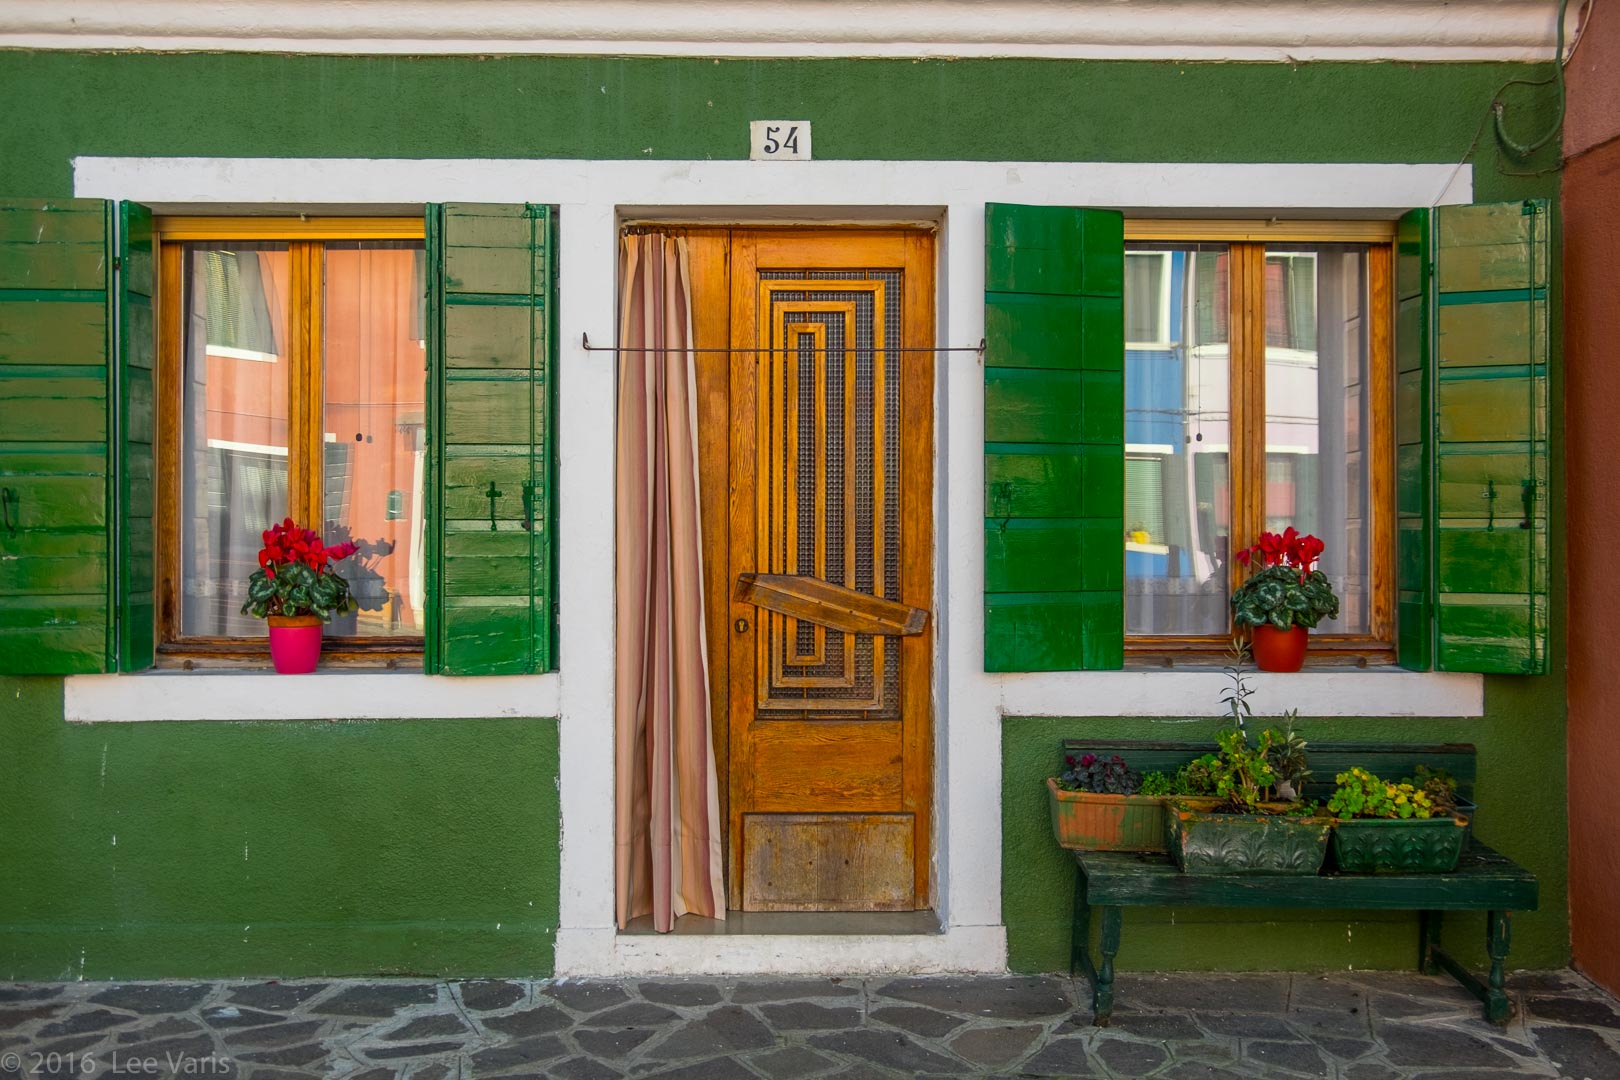
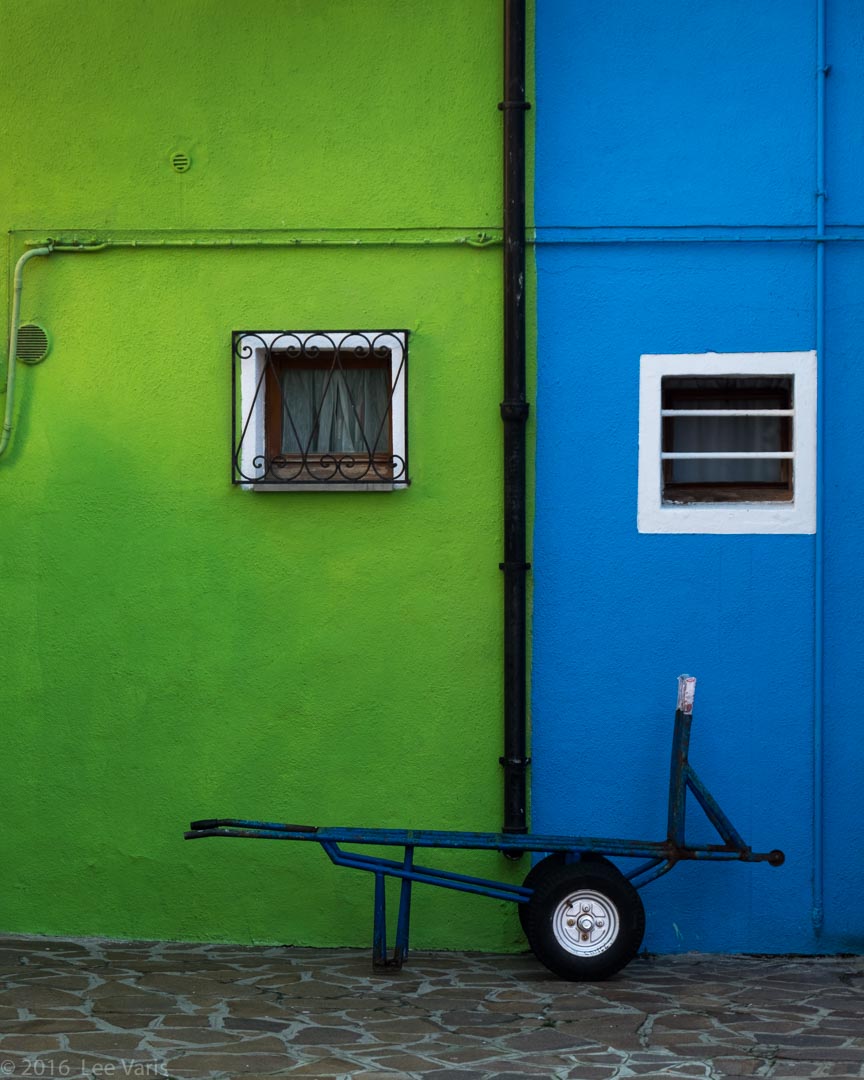
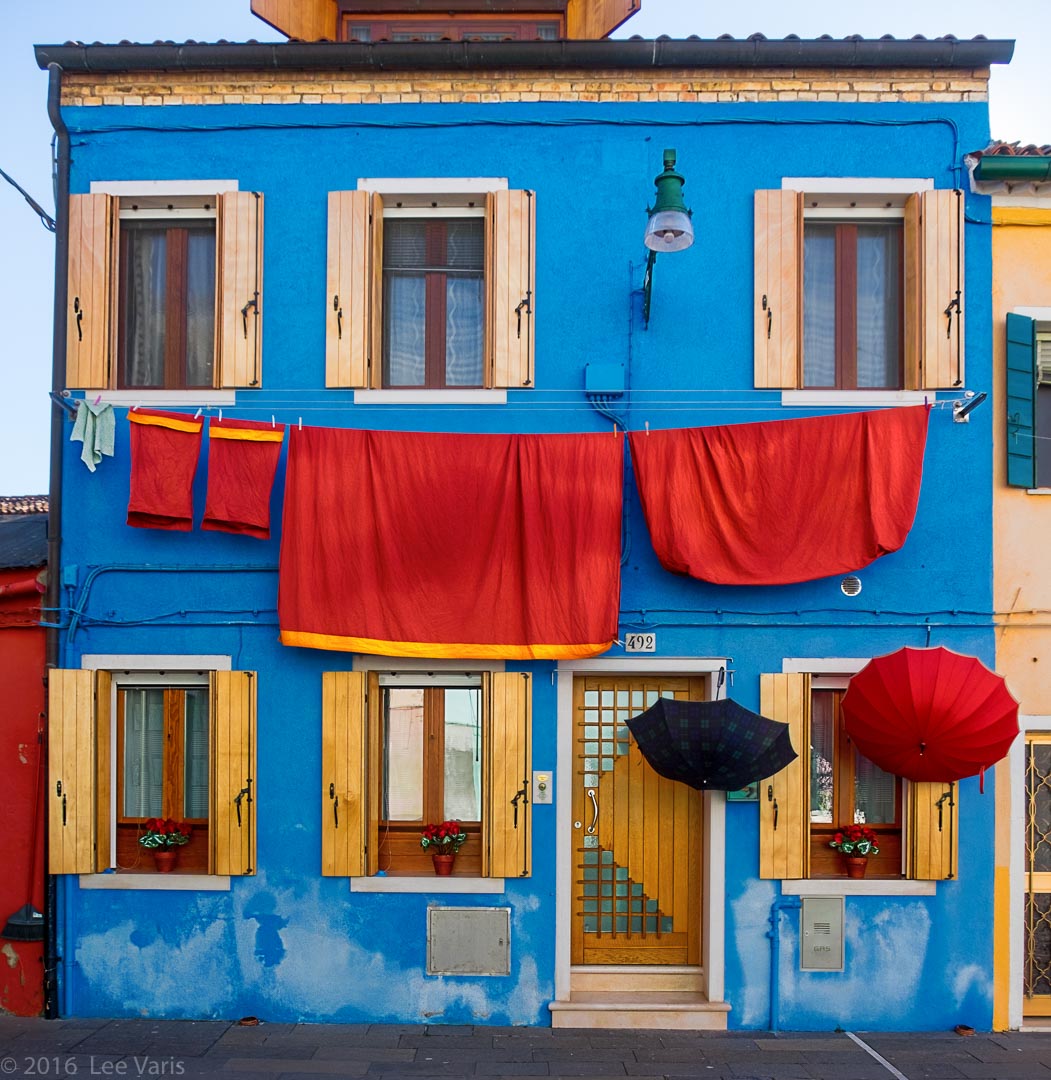
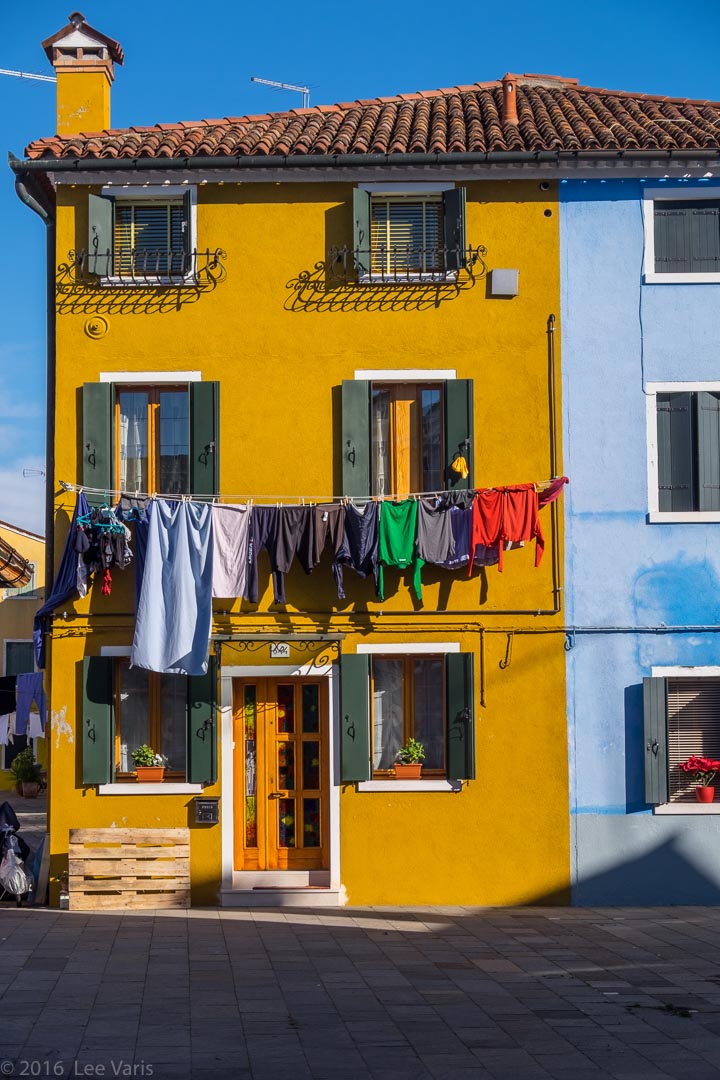
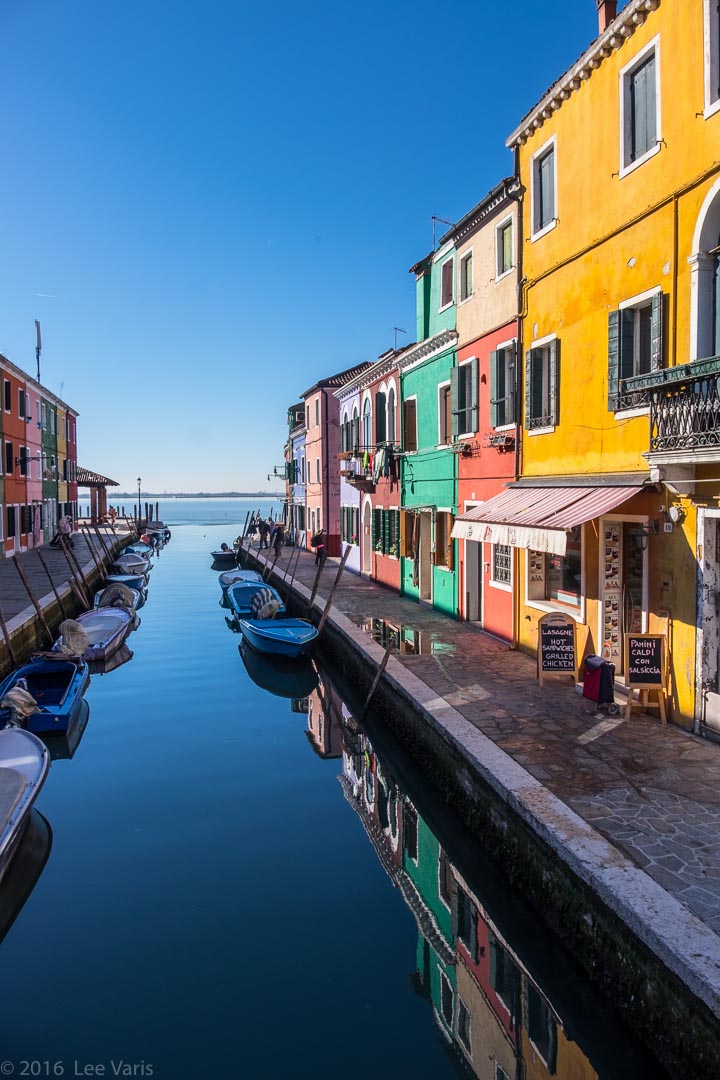
Our last trip to Venice for Carnival included a half day on the island town of Burano, easily one of the most colorful towns on earth! Before I dive into my tutorial on color and tone enhancement, take a look at this small sampling of images from the trip—all captured with my trusty Fuji X-T1 mirrorless—click on any thumbnail to launch a larger slideshow…

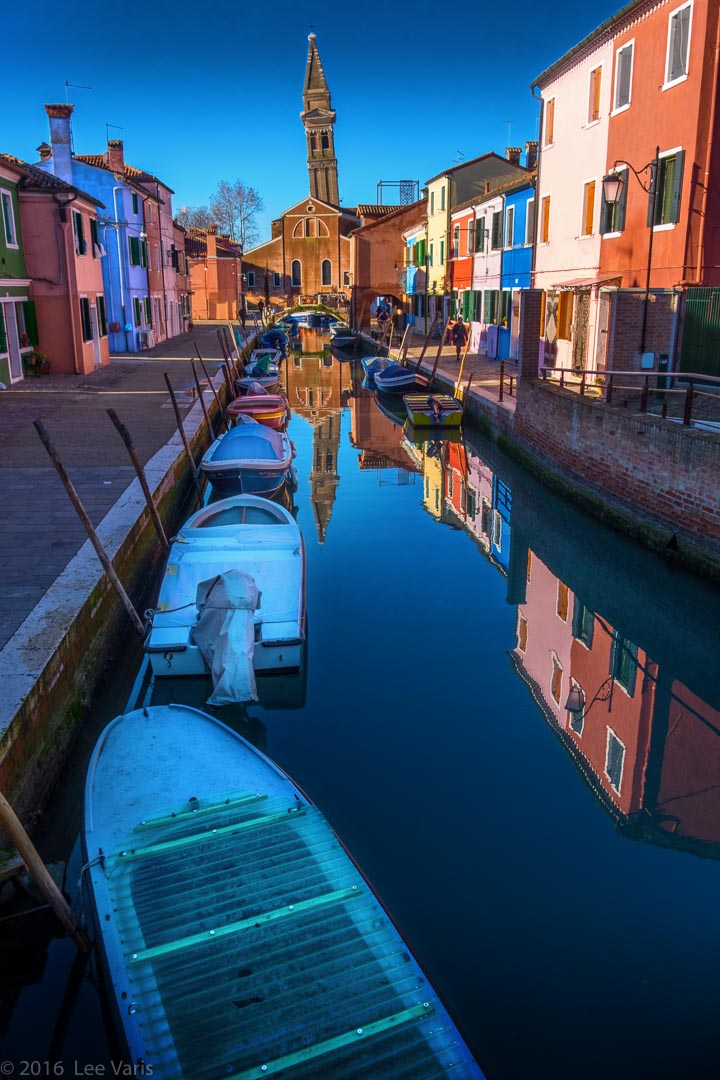


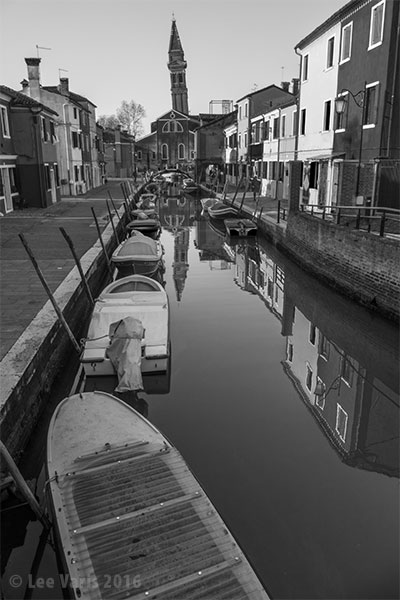
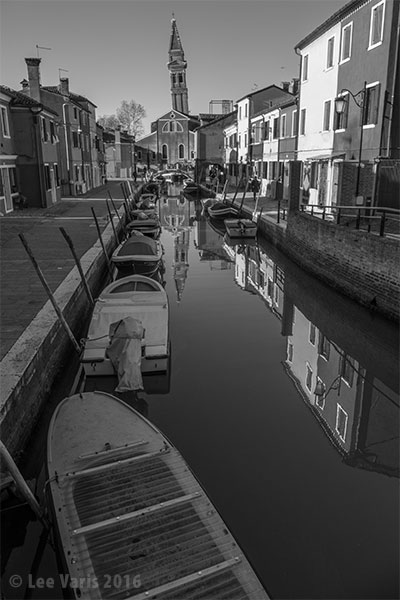
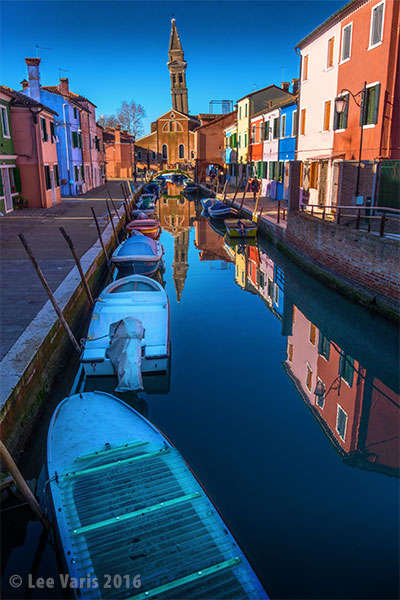
There is a classic view of the tilted church that I have been drawn to since my first visit in 2015. This year I captured the following image from one of the little bridges that cross the many little canals that run through the town.
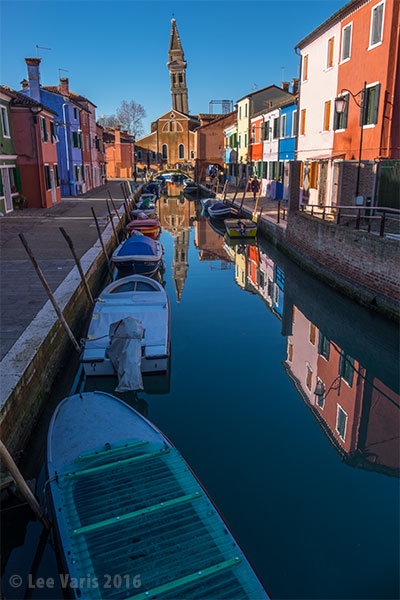
Looking down the canal at the tilted church tower—there are no parallel lines in this image!
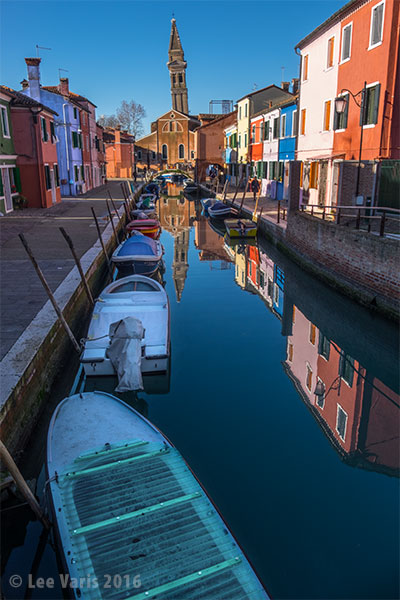
There is a kind of fun-house mirror quality in the image, where there are no perpendicular lines—everything is tilted at a diagonal ! The boats in the canal create a strong leading line that takes your eye right to the tilted tower with its mirror reflection. This original image has already been adjusted in Lightroom to open up the shadows, with the shadow slider all the way to +100! I want to brighten up the boats and add a bit more saturation to the colors in the most natural way I can without introducing artifacts or obvious selection edges. My first strategy is to examine the individual RGB channels to see if I can use the channel luminosity to my advantage!
The red channel has a lot of contrast and a much darker sky and water.
The blue channel has much brighter water and sky, but also brighter boats
The green channel is between the two extremes, no surprise because the green channel holds 60% of the overall luminosity of the image.
I decide the blue channel is going to help me lighten the boats, so I use Apply Image to put a copy of the blue channel into a layer above the background, and change the layer blend mode to Luminosity. Since I don’t want to brighten all the blue in the image, I make a black layer mask and then soft-edge brush in with white in the area of the boats!
Here the blue channel luminosity is applied to the image through a soft edged mask to lighten the boats.
Next, I use the red channel to darken the sky through a gradient mask… The advantage here is I don’t have to mask off the tower to get the gradient effect into the sky without darkening the tower as well. In fact, the red channel luminosity brightens up the tower a little!
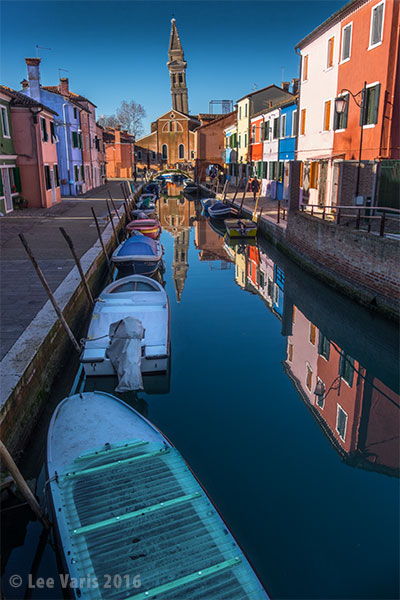
The red channel luminosity is applied to the top edge to darken the sky and lighten the tower.
Now its time to beef up the color, and so I duplicate the image and convert the copy into Lab…
Lab is ideal for increasing color saturation without introducing artifacts.
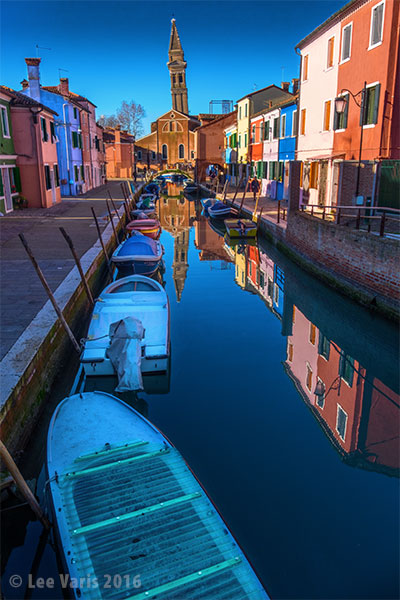
Th final image has the color from the Lab copy applied in a layer in color mode with a copy of the inverted “b” channel applied in a layer in Soft Light mode. This was used to brighten the 3rd boat from the front and put a little halo of brightness around the tower in the reflection in the water..
The final image is the result of a few layers blended through Luminosity, Color & Soft Light.
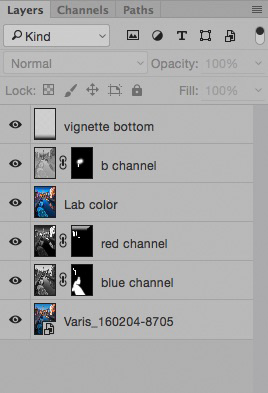
Here is the layer stack…
The top layer applies a darkening gradient to the bottom to “contain” the edge a bit.
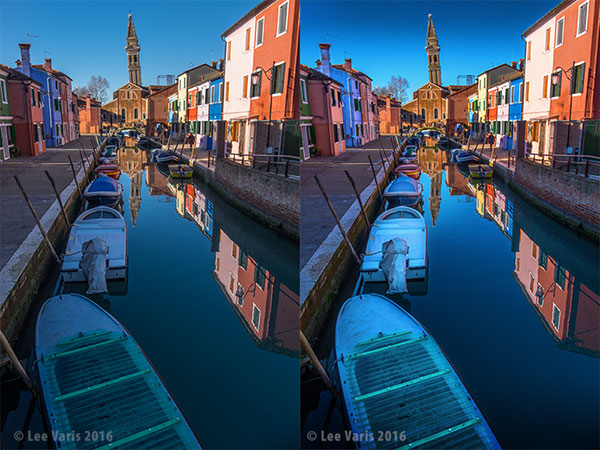
Compare the original to the version edited in Photoshop.
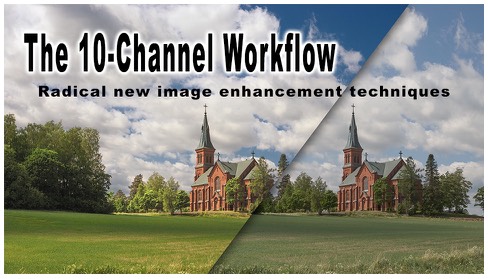
While this kind of enhancement can be simulated in Lightroom with the adjustment brush, and gradient tool, the result is subtly different, and not quite as natural looking. To see a more detailed tutorial, with a more dramatic transformation, check out this older post:
Revisiting the 10-Channel Workflow
Finally, to see a more complete gallery of images from Burano, check out the web gallery here: