Dreams of Spring in the Heart of Winter
Well… I thought I’d get this mandala posted before the month was over—here is my dream of spring time with an animated photo-mandala:
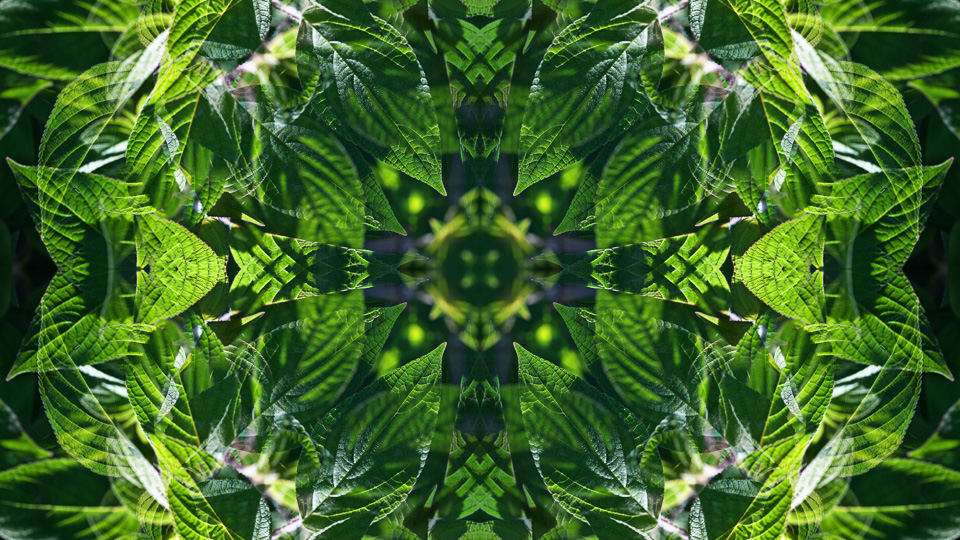
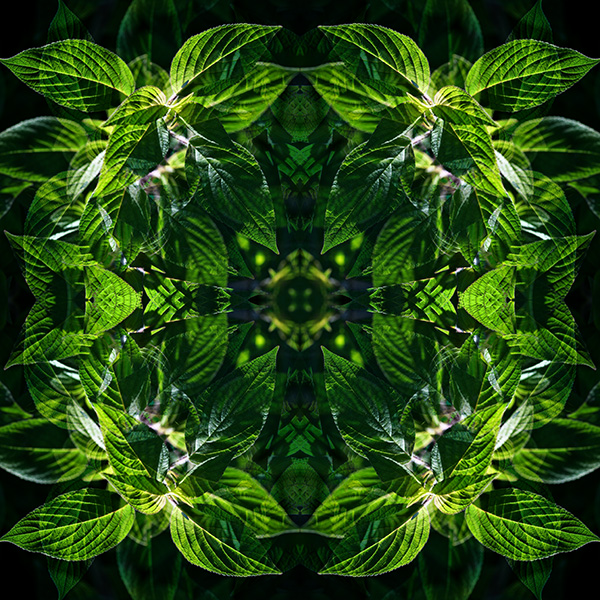
The beginning mandala image was generated from a single “seed” image, and worked recursively in Photoshop to build up the quadratic symmetry you see here:
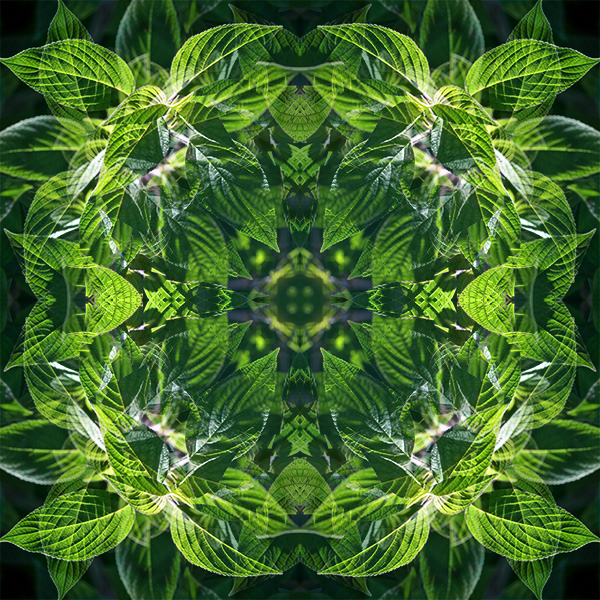
The finished photo-mandala is generated from a single “seed” image that is flipped, rotated, and blended multiple times in Photoshop.
To give you an idea how complex this process can get, I’ll go through the build process here step-by-step—here is the original “seed” image:
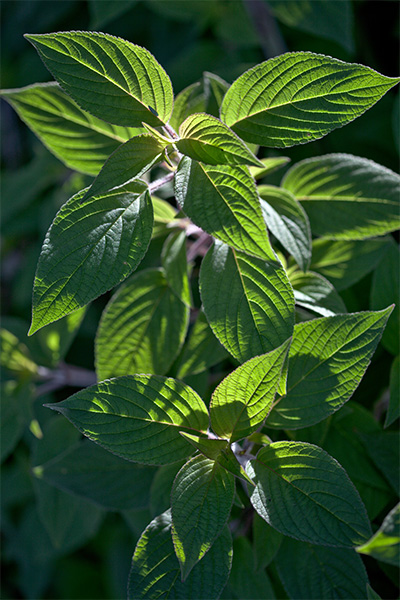
The original “seed” image.
This is copied and flipped to the left, book jacket style…
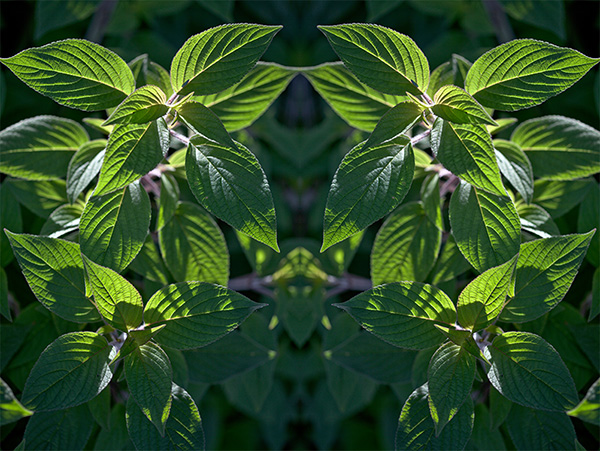
Book jacket flipped to the left.
Now I duplicate the background into a new layer, and canvas the document into a square: Image->Canvas Size… Using black as the background color…
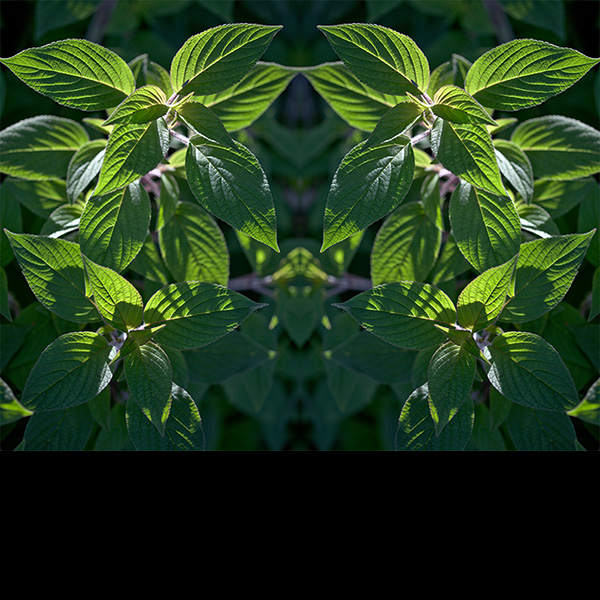
Canvas extended with black
The top layer is flipped vertical: Edit-> Transform-> Flip Vertical… I’m going to move this layer down to cover up the black area…
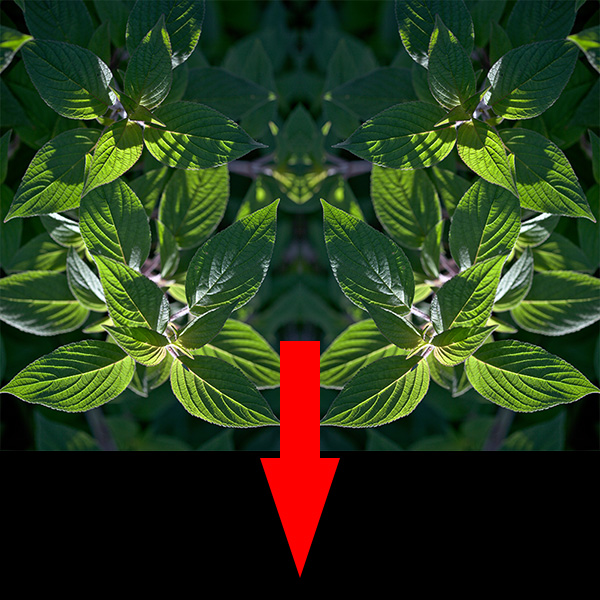
Top layer flipped vertical in preparation for the move down.
Before I actually move this top layer, I change the layer blend mode to “Lighten” so I can see how it interacts with the underlying image.
Lighten Blend Mode
When it is moved into place, it completely covers up the black area, but blends over the other image in an interesting way…
Flipped Lighten Blend
Now I want to put a merged version of this into the top layer and rotate it 90°…
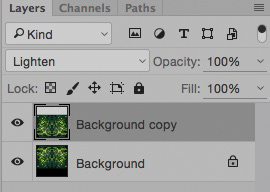
Merge Visible from the Layer options flyaway
Hold down the Option/Alt key and select “Merge Visible” from the Layer Options flyaway menu at the upper right corner of the Layers panel, then select: Edit->Transform-> Rotate 90°…
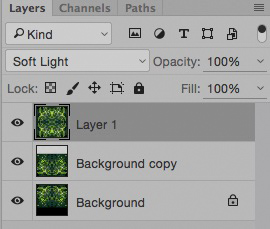
Soft Light.
Change the Layer Blend mode to “Soft Light,” and…
Soft Light Blended
I like this, but I feel its too dark, so… I change the blend to Lighten, and its too light.

Lighten Blend Mode
Too-Light
So I decide to use this too-light version to lighten up the dark version a little bit. I select “Merge Visible” while holding down the option/alt key to get the too-light version on top of everything else in the layer stack, then change the previous layer blend mode back to “Soft Light.” Return to the top layer and change the blend mode to screen and reduce the opacity until it looks right to me…

Reducing the opacity to taste, achieves the look I’m after!
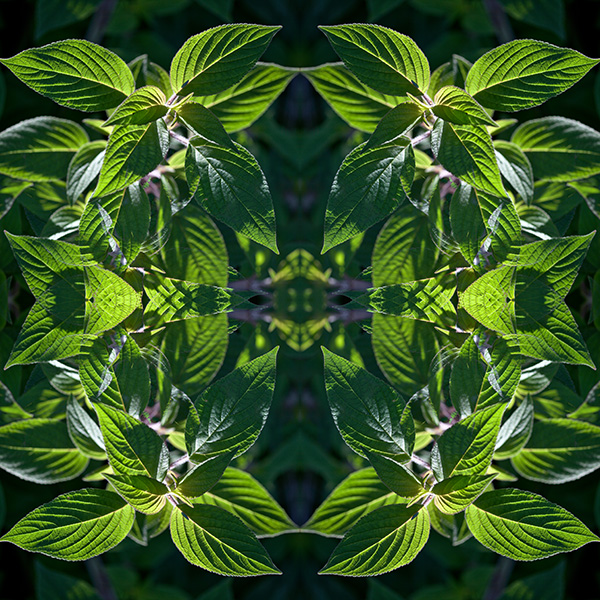
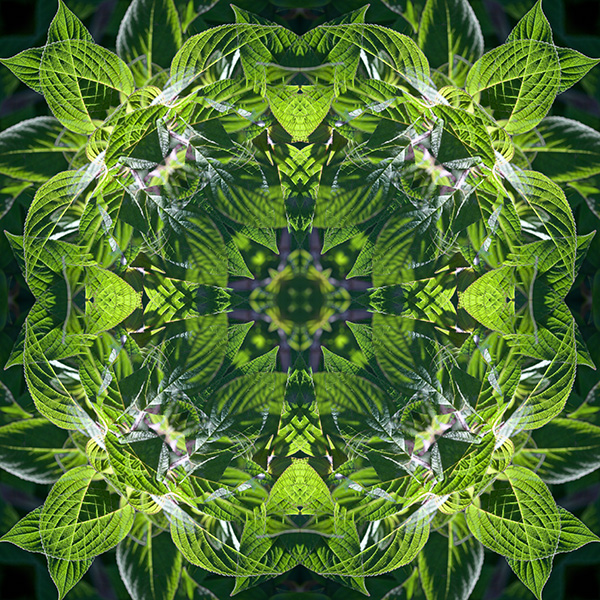
The finished photo-mandala is generated from a single “seed” image that is flipped, rotated, and blended multiple times in Photoshop
The final version has just a bit more depth—the center leaves are a little darker and this pulls your eye into the center better!
So you can see that there are a lot of different decisions that are made at each step of the iterative process, such that it is difficult to build an action to automate this in a meaningful way. Most people assume that these photo-mandalas are made using an iPhone app! While there are iPhone apps that generate kaleidoscope images, they don’t offer nearly the same level of control, nor do they generate the incredible detail that these high-res images have! Most of my final mandalas are upwards of 8000 pixels square! The one I’ve been working with here is out of focus in the center area, but to give you an idea of the kind of detail possible with these things, here’s another one of the organic mandalas featured in the movie—this one is only 7488 pixels square.
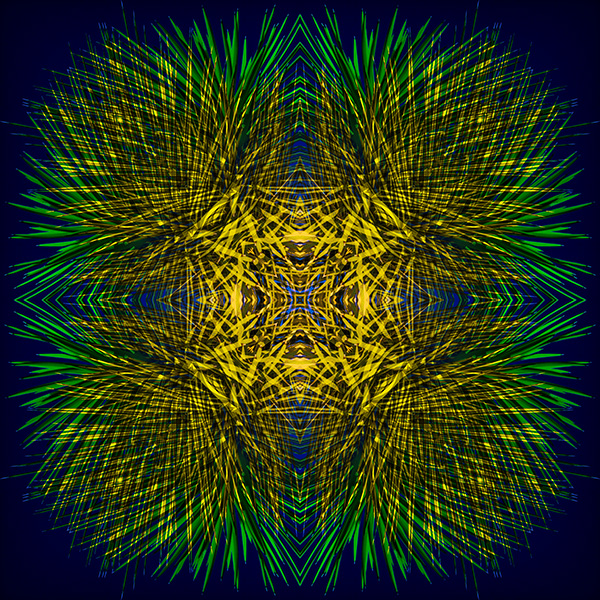
Full Mandala
And here’s a crop of the very center at full res:
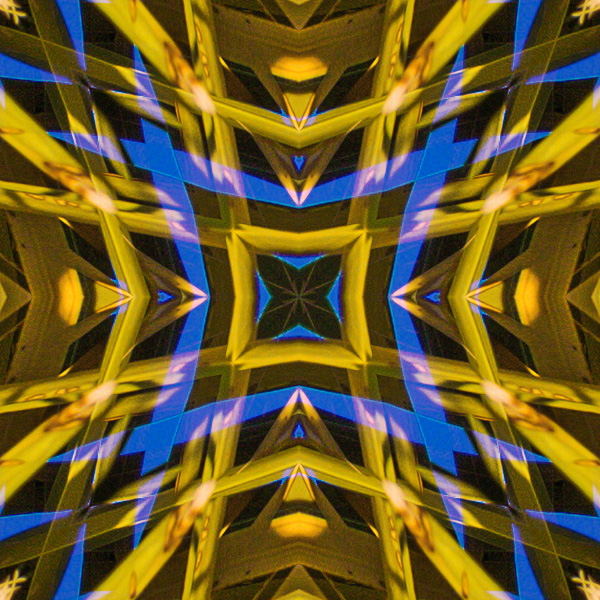
I can easily make a 4-foot square print of this image, and probably up to 6 foot square with no problems!
Check out the previous Mandala of the Month Here:
january-2016-mandala-of-the-month
and another detailed tutorial about creating a photo-mandala here:
How-to – The World of Photo-Mandalas
Stay tuned for a new Mandala next month!