My favorite white balance tool is by far the SpyderCube from DataColor. This little tool is always in my camera bag, and I find it invaluable on set, not only as a simple white balance reference, but as a lighting ratio reference, as well as a black point reference. DataColor has envisioned this tool as a complete post processing control reference and has a set of instructions for its use on the SpyderBlog , but I don’t follow all their suggestions in my own workflow – I will explain how I use the SpyderCube in the following…
Process the adjusted SpyderCube shot into Photoshop…

Up Coming Events
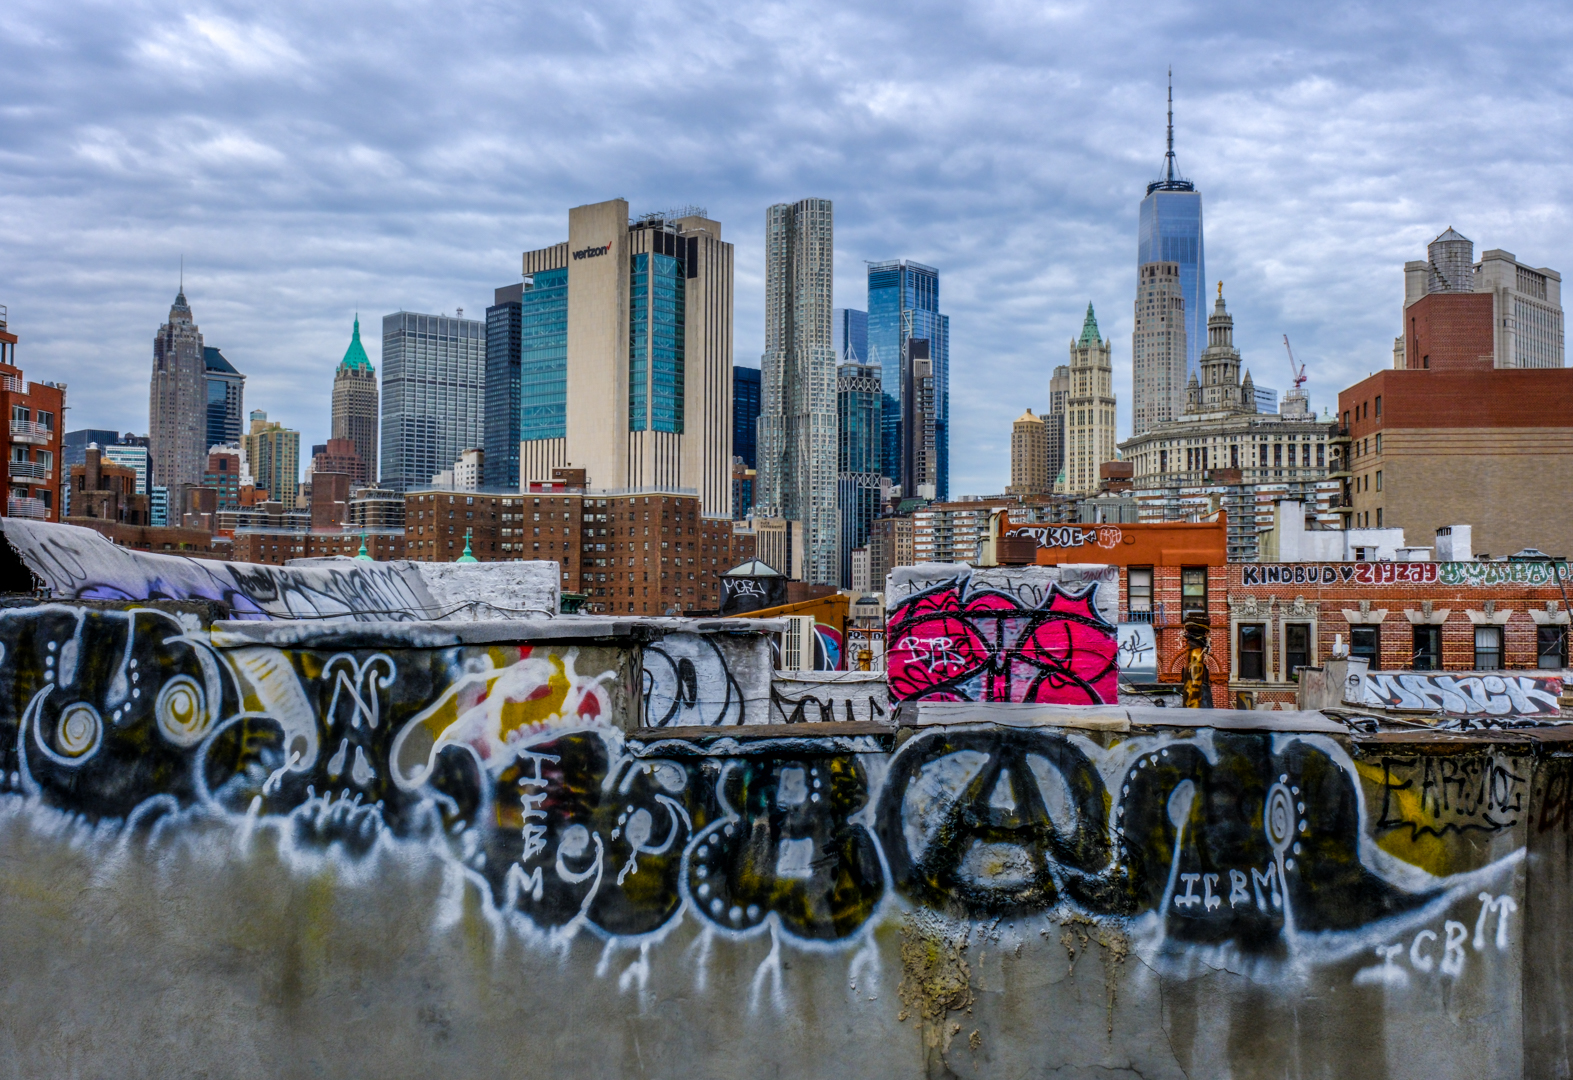
Join Bobbi & Lee on a five-day, small group photographic exploration of the many diverse and ethnic areas that comprise this grand mosaic that is New York. The photo locations are ones that out-of-town visitors and many residents rarely visit. We will walk the streets, ride the subways, and be always in the thick of it. Lunches are in restaurants that are consistent with the ethnic demographic of the neighborhood. The experience offers you many opportunities to photograph the daily life of people and explore colorful and remarkable locations that make up the richness of this city.
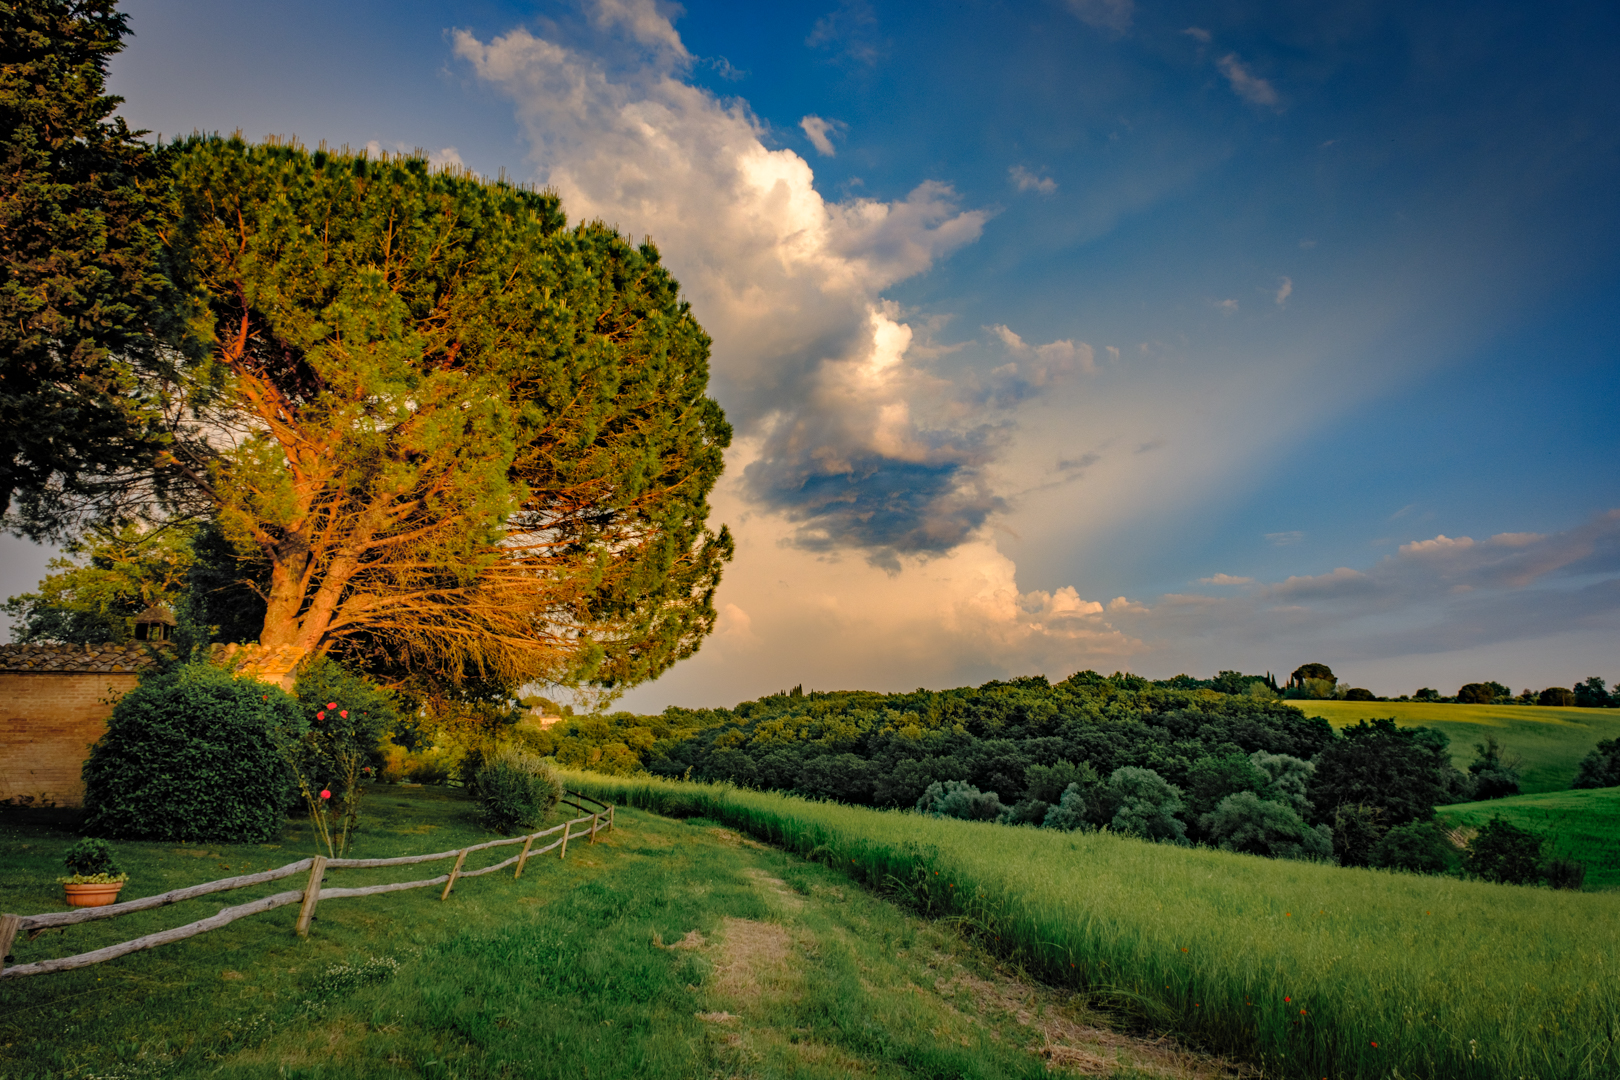
Join us for a magical photo-vacation adventure in sun soaked Tuscany. We are taking over a villa in the Val D’orcia region of Italy near Siena. The luxury villa has a pool, jacuzzi, and sauna, 9 bedrooms, full vegetable garden, with a vineyard, and fantastic views of the countryside. The Villa is located on an organic farm estate that extends for over 300 hectares, in the beautiful rolling hills of Val d’Orcia, a wonderful area in Tuscany nestling between Siena, Montalcino, the Crete Senesi, Pienza and Montepulciano. Renovated in 2014, Villa Mariolina is a truly luxurious villa, equipped with all comforts and amenities. It is centrally located in some of Tuscany’s most impressive scenery and in an area protected by UNESCO for its beautiful scenery
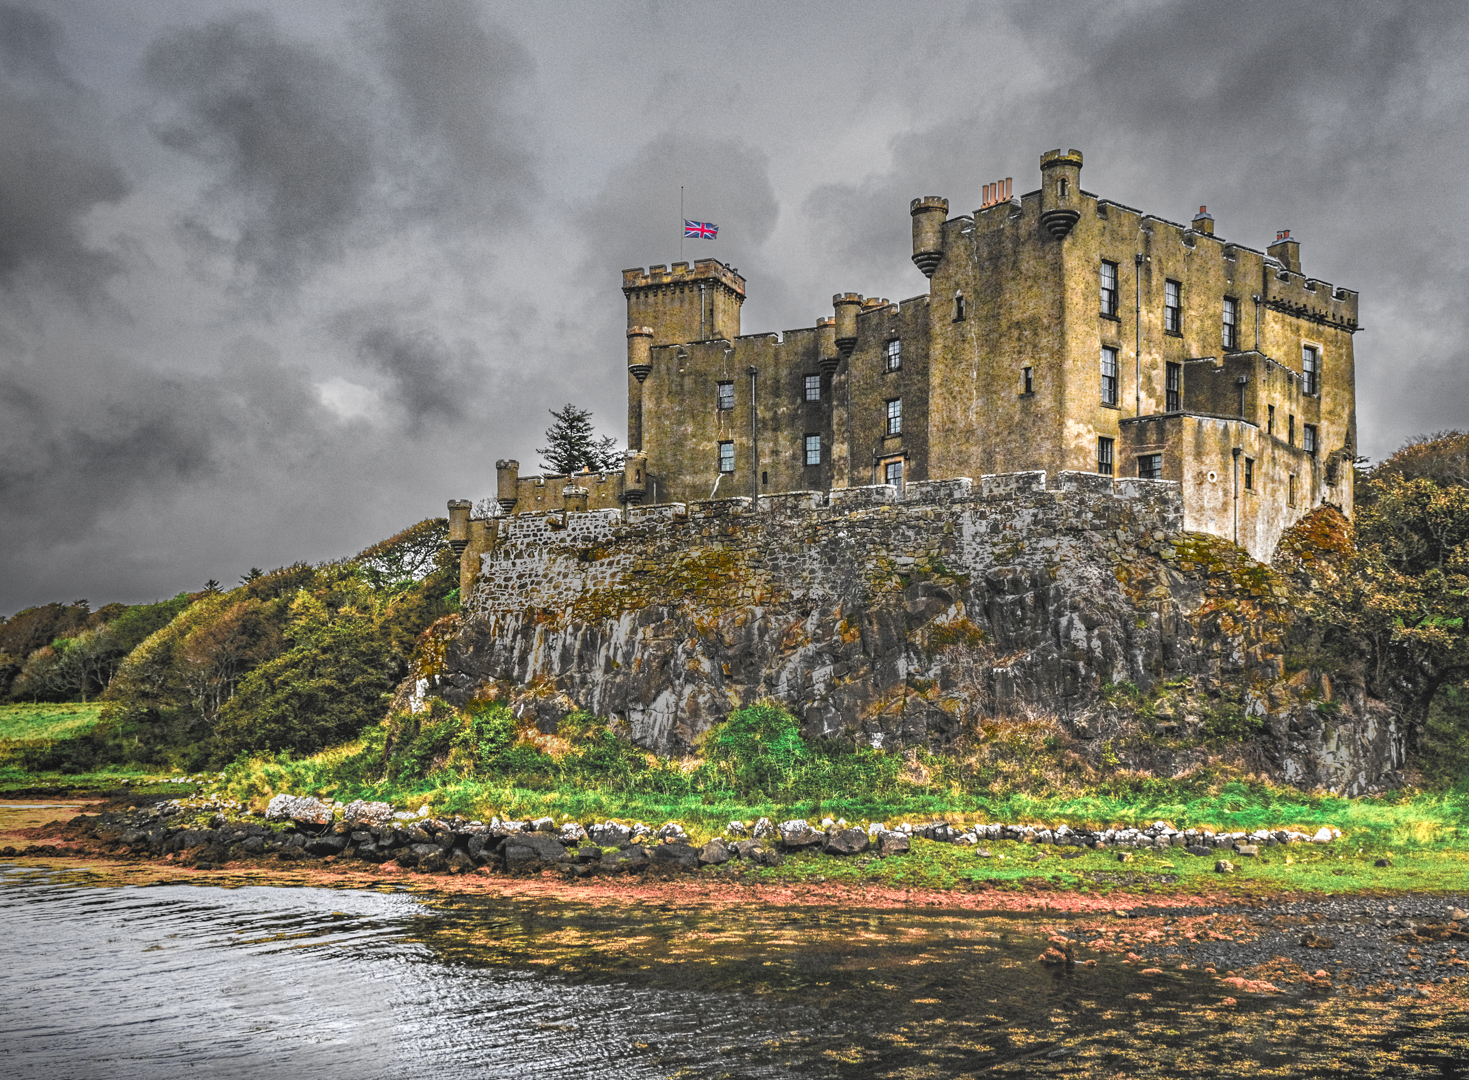
Bobbi and Lee lead you on a tour that explores the natural beauty of the Scottish highlands, including the beautiful Isle of Skye, and Lewis and Harris, in the Outer Hebrides. This tour is ideal for photographers (both experienced and budding), nature enthusiasts, and anyone who dreams of experiencing the best of Scotland’s stunning landscapes. From the picturesque villages to the rugged coastlines and dramatic cliffs, you’ll capture the unique beauty and essence of Scotland with your camera. Our knowledgeable tour guides will make sure you get the most out of your experience, and we’ll provide you with the tools to capture truly unforgettable photos.
Enroll in my Photo-Illustration in Photoshop Course
Enroll in my 10-Channel Workflow Course
Enroll in My Portrait Retouching Course
Enroll in My Hair Masking Course
Get the Lume Cube at a Discount with code: Lee10
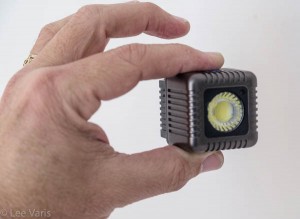
The amazing Lume Cube is a powerful LED light that can be controlled through a mobile app!
Buy My Books on Amazon

10 Commandments of Backup
