Pixelstick meet Fujifilm… now lets create!
While we were on our photo tour of Venice Carnival, Bobbi Lane and I had a great opportunity to test out a prototype of Fujifilm’s new medium format camera, the GFX. I had been planing to create some images using the amazing Pixelstick, a very cool, programable light painting device, and Venice Carnival was the perfect setting for creative play! You can see more about the Fujifilm GFX in my previous blog post here. For now, I’d like to introduce you to the Pixelstick!
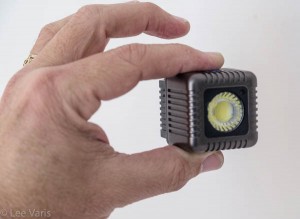
The Pixelstick is a linear array of LED lights in a hand holdable, spinning, configuration.
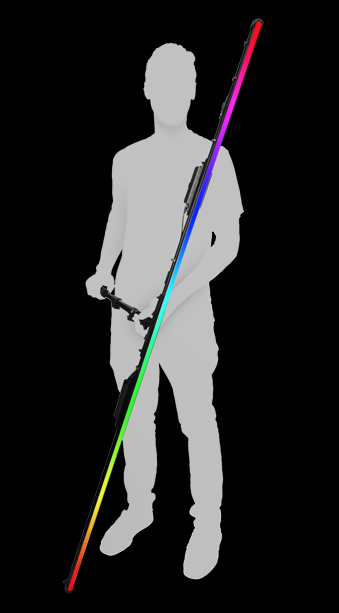
The assembled Pixelstick is 73″ long with 200 LED lights arranged along its length. A handle is configured such that the “stick” can spin around the handle, allowing for interesting light painting effects.
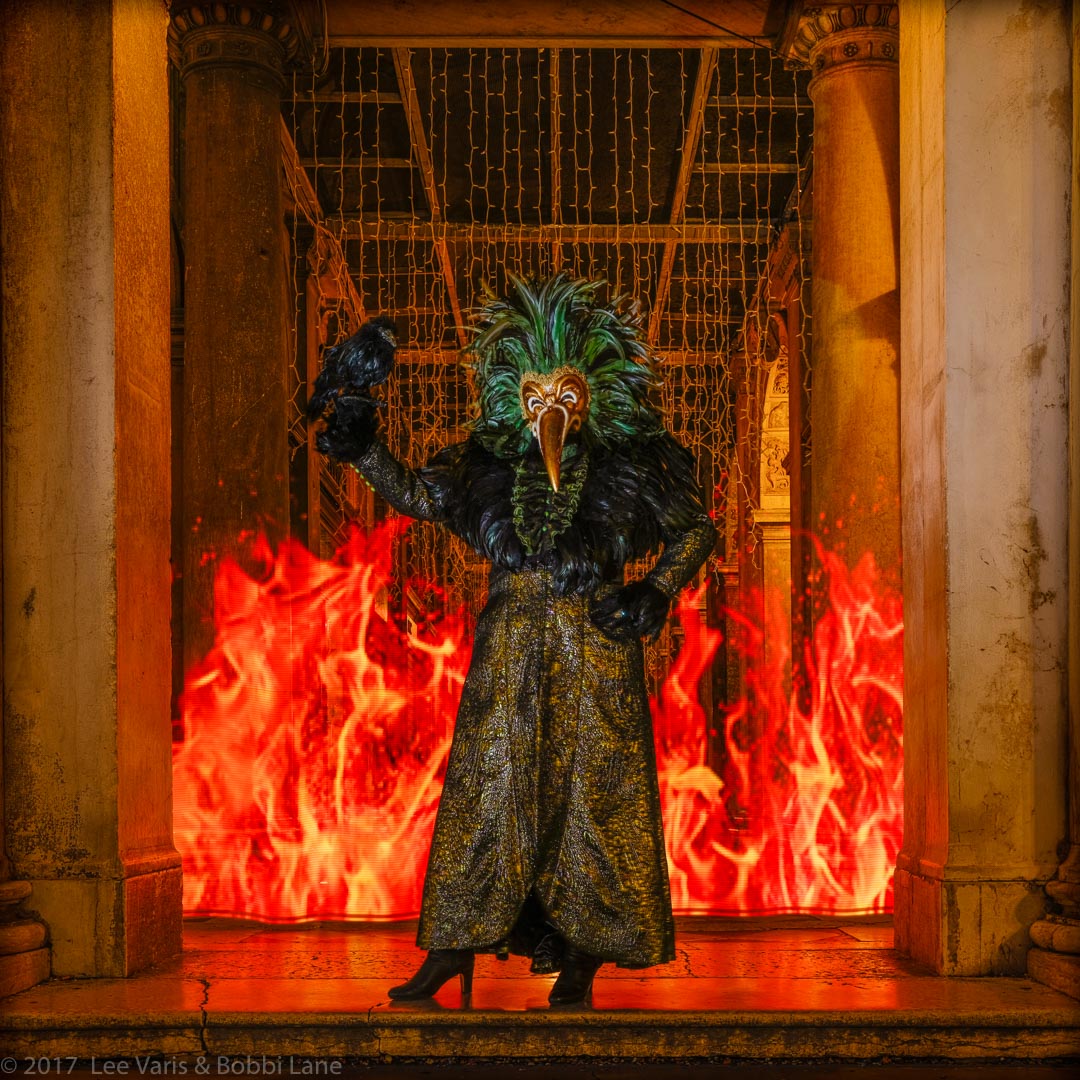
The intensity, and color of each of 200 lights is controlled through a timed application of a bitmap image—sort of like a flatbed scanner in reverse. You can feed literally any image into the Pixelstick, and then “paint” the image into a dark scene by waving the Pixelstick through the scene. Pixelstick supplies a set of default graphic images built-in, with a number of other pre-formatted images available for download from their website. Perhaps the most interesting of these images are the set of “fire” images—we were very excited to apply the fire effects with the Venice Carnival costumers!
Venice during Carnival is a most amazing, magical, experience, with spectacular photography opportunities around every corner. This year we were ready with the Pixelstick for the pre-dawn gathering of costumers, who arrive before daylight to pose for the serious photographers willing to be up at 5:00 am! We set up for your first test of the Pixelstick and grabbed the first costumer we saw…
Our first test of the Pixelstick with a costumer in Saint Marks square—Andrea was very excited by the results!
The shoot was done with the Fujifilm GFX in manual exposure mode, on “T” with an 8-second exposure, ƒ11, ISO 100—a Fujifilm EF-X500 shoe mount flash provided the front light, placed on the ground using the little “mini stand.” The flash was fired manually right after the exposure was initiated, using a remote trigger—I then walked behind the subject holding the pixel stick vertically, and just walking it across the frame. The image of the fire was painted into the scene—because it is an actual light source and not simply composited into the scene in Photoshop, the flames reflect naturally off the environment to create a very realistic effect. Once our costumed subject saw the image she became very excited… “I have a devil costume that would be perfect for this!” she exclaimed!
With a successful test under belt we made plans for the following morning, arriving even earlier to have more time before the sun came up!
Success in this type of photography involves careful testing and lots of different shots to get the ideal combination of front light with the best Pixelstick image. The following morning, with 9 of our tour participants in tow, we arrived in St. Marks square and began testing for our devil shot. This time we wanted a more distant background with the Doge’s Palace behind the subject. The key was to balance the street lights, front flash, and Pixelstick into an integrated exposure. Here is one of our test shots with Bobbi standing in, using one of the built-in ribbon graphics for a test exposure:
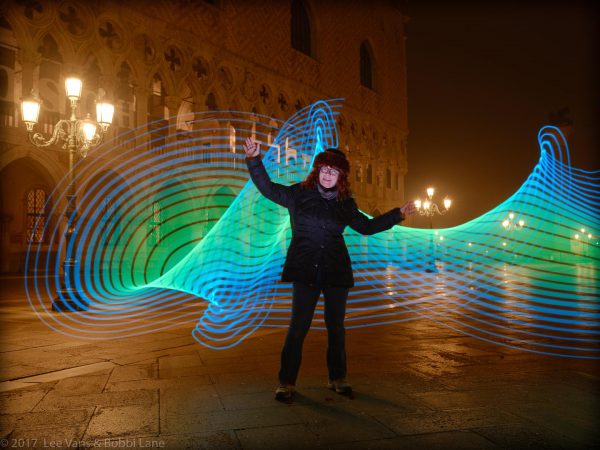
Bobbi stood in for a test shot— 8 seconds at ƒ11, ISO 200
We would use one of the “ribbon” graphics in another shot a couple days later, but this morning was going to be all about fire and the devil… so… once we got our basic exposure down, we waited for our devil to show up…
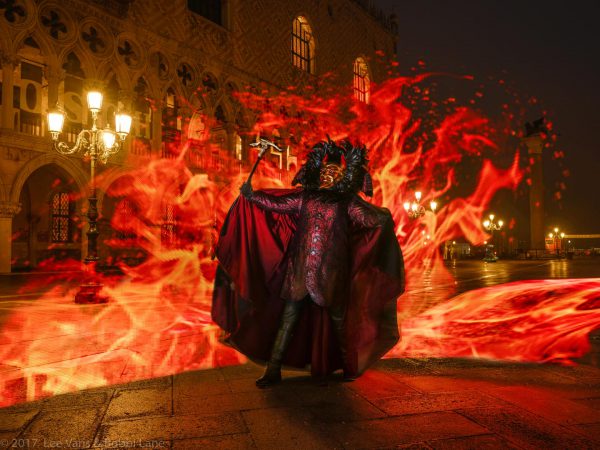
Andrea showed up with the prefect costume. The wall of flames was “painted in during an 8 second exposure, ƒ11 at ISO 100
We shot and shot… the 9 other photographer/participants on the tour were arranged in a row on either side of our camera—everyone setup with the same exposure settings. Bobbi would call out” 1…2…3…go!” Everyone released their shutters, Bobbi fired the flash, and I ran behind our devil (Andrea) and waved the Pixelstick around her about 15 times—everyone calling out directions for the movement of the flames! Needless to say, it was quite exhausting for me!
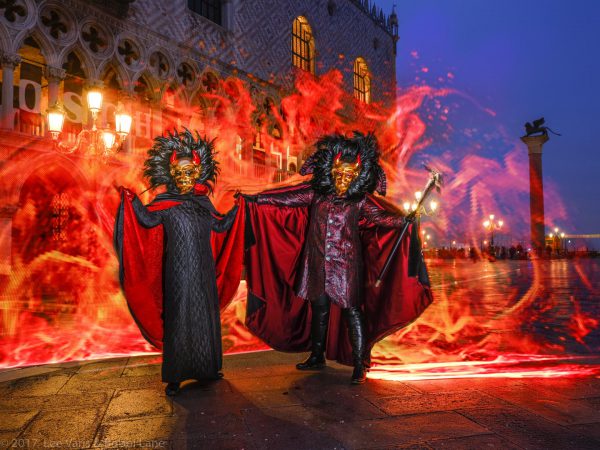
A 2nd devil showed up, and we managed to get off a few more shots before it got too light.
We ended up with two devils when Andrea’s friend showed up (also named Andrea) – in the shot above, the light line at the right is where I had the Pixelstick on the ground at the start of the exposure, after the flash, I picked it up and waved it in an arc behind the subjects, resulting in the wall of flames effect! This shot was the last in the series, and we had to stop as the sun came up— the light blue sky started to destroy the drama of the flames.
We made plans with another couple of costumers for a different kind of shot using one of the “Ribbon” graphics built-into the Pixelstick. So… on another early morning we arranged ourselves in front of St. Marks Cathedral to get this shot…
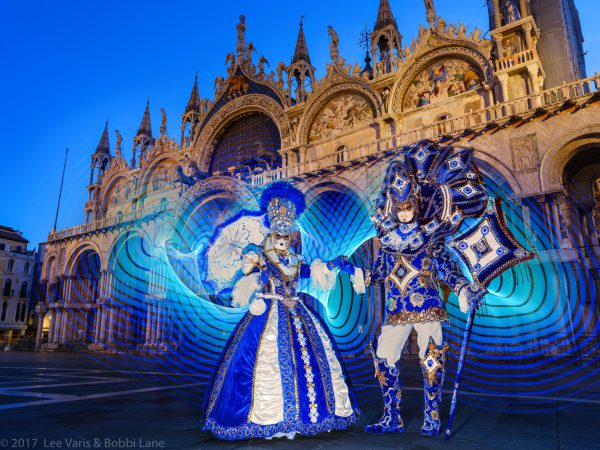
Murielle and Alain in their grand costumes in front of St. Marks Cathedral – 10 seconds, at ƒ11, ISO 100 —fantastic!
The color coordinated Pixelstick lighting makes for a spectacular Carnival image! I’ve placed a gallery of images below—click on the thumbnails to launch a large image slideshow! If you’d like to join us for our next Venice Carnival Tour, you’d better sign up soon—Chromasia only takes 12 people, so check out the tour details and sign up now before its too late
Venice Carnival & Pixelstick: