Steve Baker Songsmith
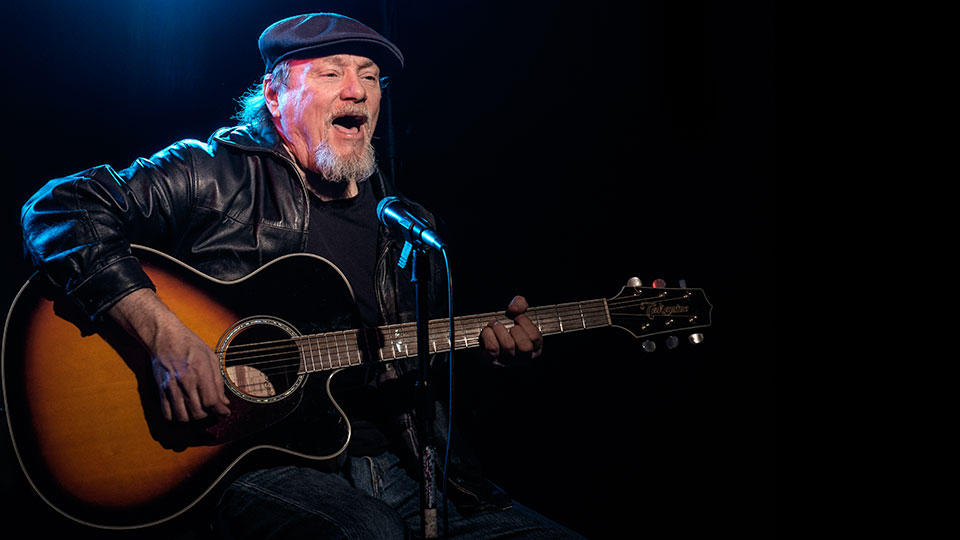
Bobbi and I recently shot video and stills for our friend Steve Baker. Steve is a musician, singer/songwriter in need of promotional material for a website and his YouTube channel. We arranged to shoot at the local public access TV studio in Stoughton, MA. The idea here was to simulate a small theater stage lighting setup to make it look like we were capturing a live performance.
Including the lights in the shot helps to sell the idea that this is a live performance.
We used the video lights that were available in the studio without attempting to modify or soften the quality of the light—again, giving a sense of the fighting that might typically be available in a small theater setting.
Strong shadows and the blue slash light contributes to the theater lighting effect.
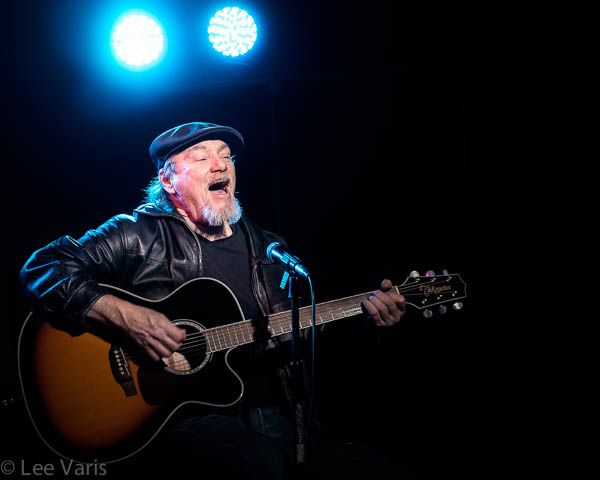
I closed the barndoors and adjusted the fresnel to “spot” to get a more focused spot light, again, to simulate a theater spot light effect.
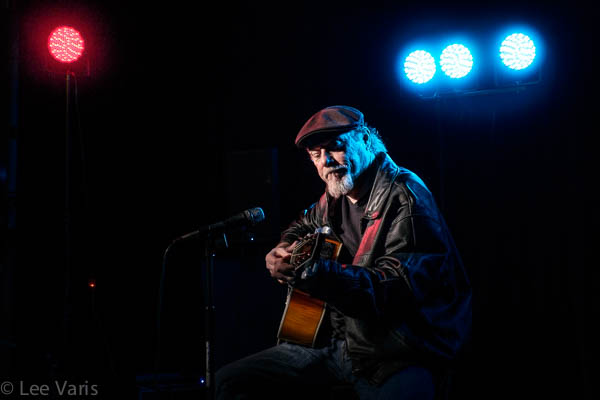
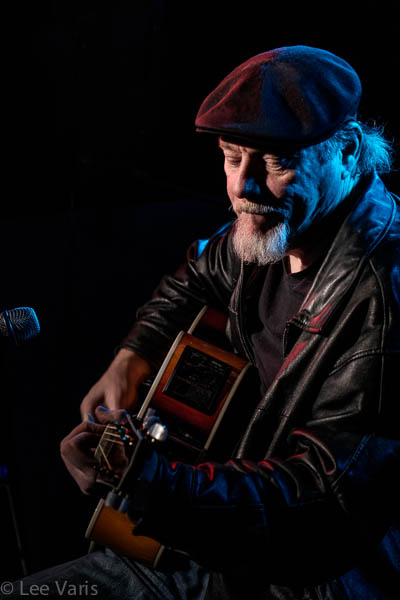
You can see most of the back lights in this shot – these are LED lights typically used to light up background curtains.
The studio had a number of colored LED lights that were normally used to light up curtains at the rear of the set. These were remotely controllable to provide color changes for the set ambiance. We turned them around and used them as back lights to create the theater ambulance we were looking for. You can see an overview of the set in the following shot:
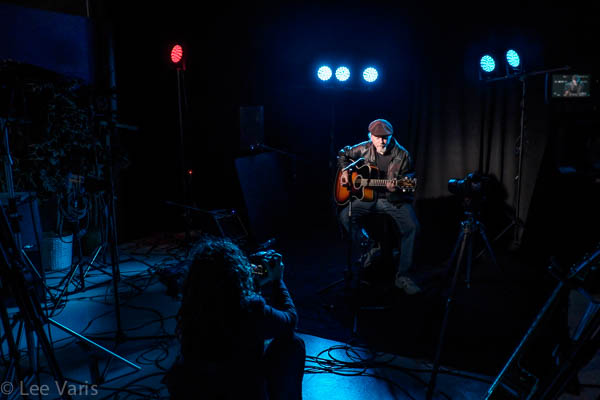
Bobbi is in front getting some hand held video of the performance.
The set is draped n black—you can see all of the back lights in the shot above! What you cannot see is the main light with is place high, just to Bobbi’s left, pretty much in the center of the setup. Here is the lighting diagram:
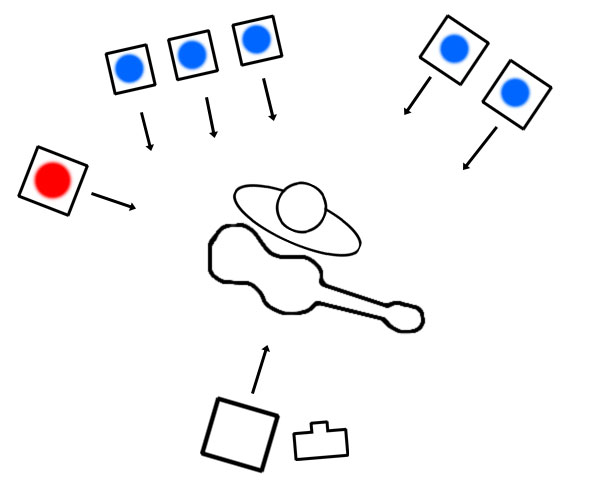
The lighting diagram, showing the placement of all the lights.
The light level on the set was fairly low—most of the time we were shooting wide open at an ISO of 800 – 1600. We had 6 cameras going for the video— 3 studio video cameras with 2 DSLRs for moving shots and detail closeups. Once the lights were setup, they were not moved. Careful placement of the lights allowed for maximum flexibility for camera placement. The main light was placed high enough to minimize reflections o the high-gloss finish of the guitar, but not too high that we ad trouble with the shadow from Steve’s hat—definitely need to have light in the eyes!
One of the issues common with this sort of lighting, is that there ends up being large areas of black, or very dark shadows in the shot. At the high-ISOs we were shooting at, there ends up being a lot of noise visible in the shadows. If you attempt to minimize this using the typical noise suppression available in the RAW processor, you can get a loss of detail, with a kind of faceted, “water color” look to the smoother areas. Instead, it is always better to do a selective noise reduction in Photoshop. I show you one approach that I find very effective for the kind of dark shadow noise encountered in this type of shooting, in the steps below…
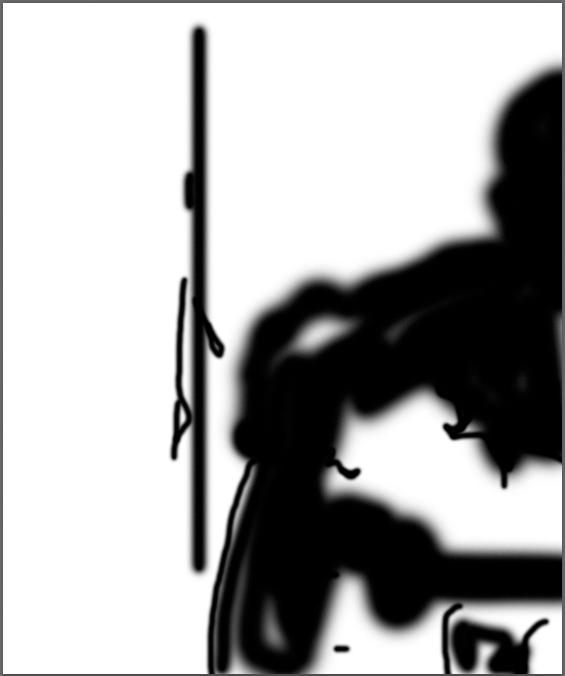
Here is a 1:1 detail, showing the level of noise in the shadow area:

Shadow noise typical of low light areas at high ISO.
The first step is to duplicate the background layer – you can see here that I have oped the RAW file as a “Smart Object,” this is almost always a best practice when going into Photoshop for retouching or and additional enhancement. Having a “Smart Object” is handy when applying the blur filter that comes in the next step- this screen shot was taken after he filter was applied and you can see how the filter shows up as a layer below the duplicate layer:
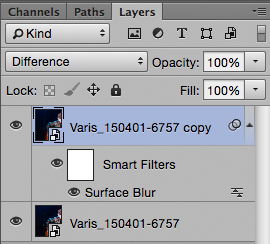
The layer stack after the following three steps.
After you duplicate the layer, run a Surface Blur filter…
The Surface blur filter is used to eliminate all the noise in the image without spreading the highlights too much.
The idea is to set the Radius just high enough to blur out the noise, and the Threshold just high enough to eliminate the small speckles without spreading the highlight tones across the edge transitions:
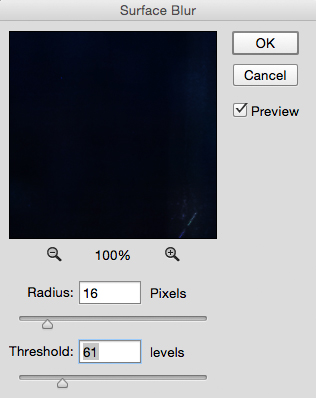
Radius and Threshold settings will change depending on the content and resolution of the image
Next, change the Layer blend mode to “Difference”…
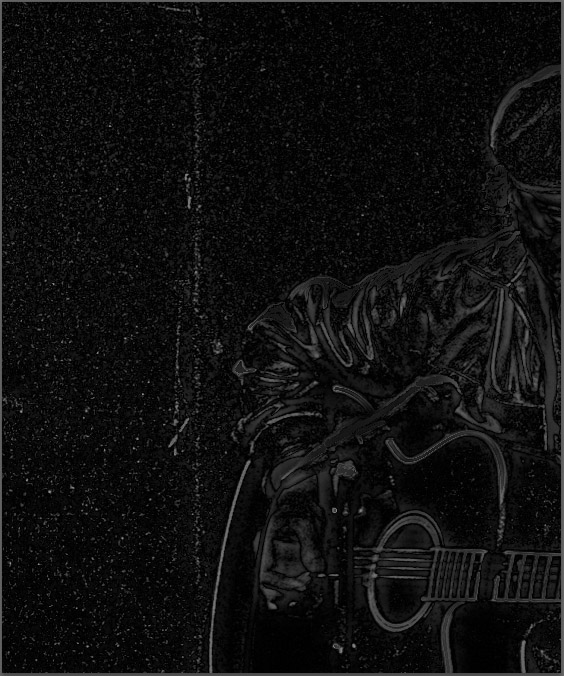
The difference blend mode will highlight the noise in the image.
Go to the Channels panel, and duplicate the blue channel—in most images the blue channel has the most noise—we are going to use this duplicate channel to make a mask that will be used to suppress the lighter noise in the image…After this step, you can turn off the duplicate layer visibility by clicking on the little “eye” icon for the duplicate, blurred layer.
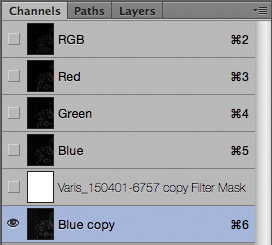
Duplicate the blue channel by dragging it to the new channel icon at the bottom of the Layers panel.
Command or Control-Click on the Blue copy channel thumbnail to load a selection based on the channel… Then, select Solid Color from the Adjustment layer pop-up at the bottom of the Layers panel…
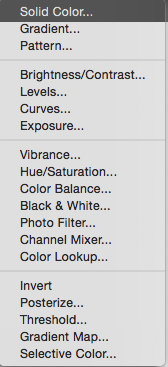
The Adjustment Layer pop-up menu.
Now choose black from the resulting color picker dialog – this will give you a black layer with a layer mask with white speckles where all the noise is. I typically have to increase the white level in the mask to reveal enough “black” to give adequate dark suppression of the lighter noise…
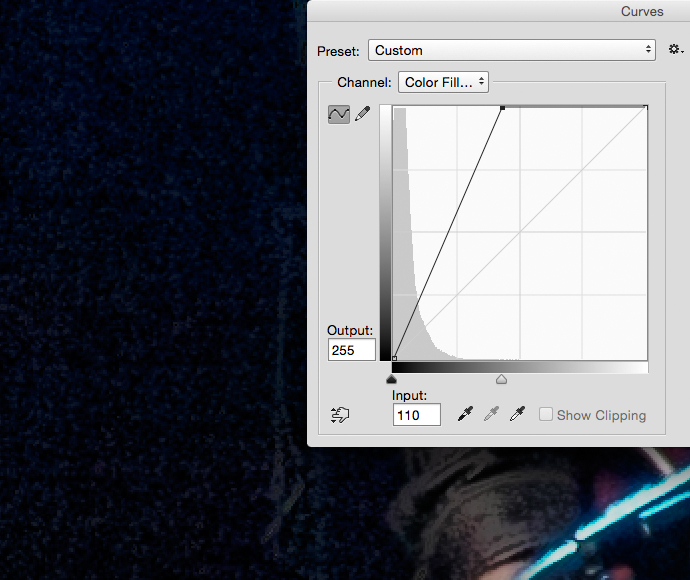
Run a curve directly on the layer mask (condo/cntrl-M) to tighten up the light speckles in the mask, representing noise in the image.
As more black is revealed in the layer, you will see the lighter noise start to disappear, merging with the dark tone of the shadows areas.At this point you will want to mask-off the darkening from the “lit” areas of the image. To facilitate this highlight the Solid Color adjustment layer, and select “New Group from Layers” fro the Layer options fly-away menu at the upper right corner of the Layer panel…
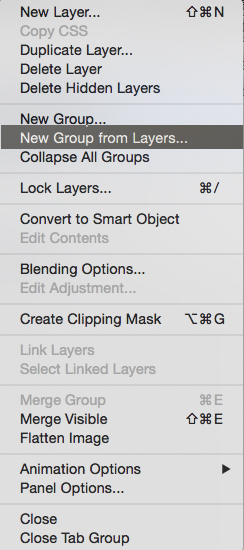
Select New Group from Layers…
This allows us to add an additional layer mask for the layer so we cam remove the noise darkening fro the areas where we want the image to come through…
The black areas of the layer mask hide the darkening effect over this areas of the image that do not require it.
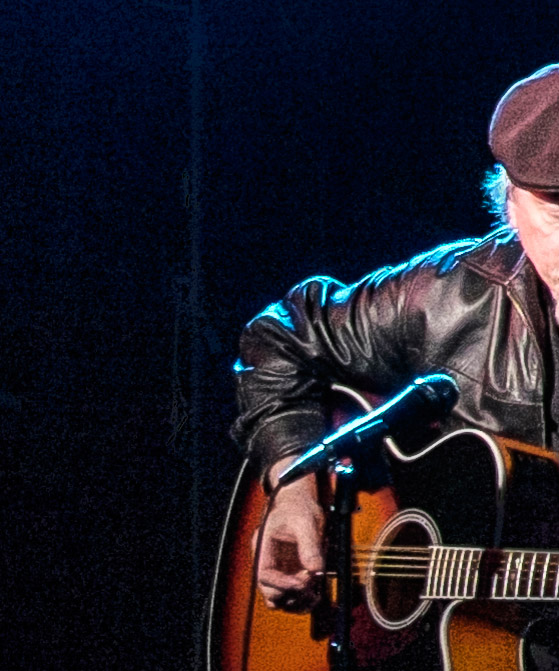
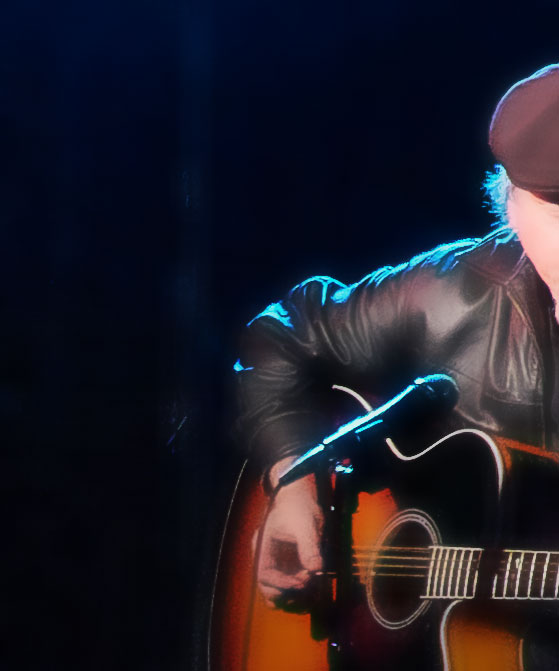
Reduced noise in the shadows.
Here’s what the layer stack should look like at this point…
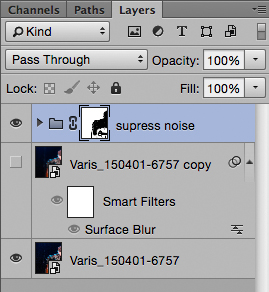
The Layer stack after the last step.
Yo may still see some dark noise in the very darkest areas of the shadow tones, so you can optionally add additional noise suppression from the blurred duplicate layer—drag the blurred duplicate, which has been turned off, up to the top of the layer stack. Turn on the visibility, by clicking back on the little eye icon. Now add a black layer mask to the blurred duplicate layer, and paint-in the smooth shadow areas over the darkest areas in the image only – the blurring will obscure any shadow detail, so be careful not to cover up anything that might be important. To help preserve as much detail as possible, you can change the Layer blend mode to Darken for the Blurred duplicate layer (inside the group)…
Click& drag on the following image to reveal the final noise suppression in the dark shadows…

I have recorded a step-by-step video showing this technique in detail here:
We will be covering these techniques, and many more, in much greater detail in Bobbi & Lee’s Real People Portraits workshop at Hunts Photo, Sat & Sun March 19th & 20th,2016 – 9am-6pm at the Melrose, MA location . So… If you are in the greater Boston area please click here to register for the weekend workshop
To see a gallery of other shots from the photoshop go here:
Steve Baker Songsmith
Here are a couple of videos from the shooting session: