How to Effectively Shoot into the Sun
I’ve just returned from a wonderful road trip to visit my sister in Durango. On the way, I stopped in Zion National Park, my halfway point, and managed to get some photos in early morning and late afternoon before continuing on the trip. Everyone knows that these beginnings and endings of the days are the best times to take photos because of the quality and direction of the light. There is one situation, however, that poses problems for the photographer when the sun is low in the sky! If the best shot is looking towards the sun it is impossible to shoot without getting flare, unless you can manage to “flag” the sun, or block it somehow.
If you can’t manage a conveniently place tree branch you can usually hold your hand out into the frame while you take the picture with your other hand, as seen in the following example:
This is, of course, all well and good, except that those fingers are an annoying distraction. The tiny area of sky and mountain ridge is very easy to retouch out in Photoshop with the Clone Stamp tool, resulting in the following image:
The following example is a little more difficult…
This becomes a much bigger area to retouch plus a fair amount of flare is still visible under the hand against the dark mountains. This flare is actually kind of nice as it outlines the trees that might otherwise merge with the mountains. I was completely blinded with flare if I removed the hand, so I had to place it there, but I also had to find a way to eliminate it from the shot. After some rather more involved retouching, replacing the sky, I still had to have some reason for the glow to appear over the mountains. The solution appears in the following…
Here I used the Lens Flare filter in Photoshop to re-introduce the flare in a controlled way. I could make sure that the trees weren’t obscured, by applying the filter into a “black” layer above the background image, and changing the blend mode to screen. The rendered flare could then be positioned accurately where I needed it, and parts could be masked off the areas of interest. Although the sun flare is fake, it accurately replicates the feel of the scene in a way that would impossible without Photoshop!
One final example represents another way of dealing with the sun in the frame:

The sun is partly blocked by tree branches – the foreground is better on the left and the sun is smaller and less distracting on the right.
Here the sun was partly blocked by the tree branches – I didn’t want to eliminate it, but still, I felt that it needed to be “knocked back” a bit, so I shot two exposures and planned to combine the best parts of each in Photoshop. The result:
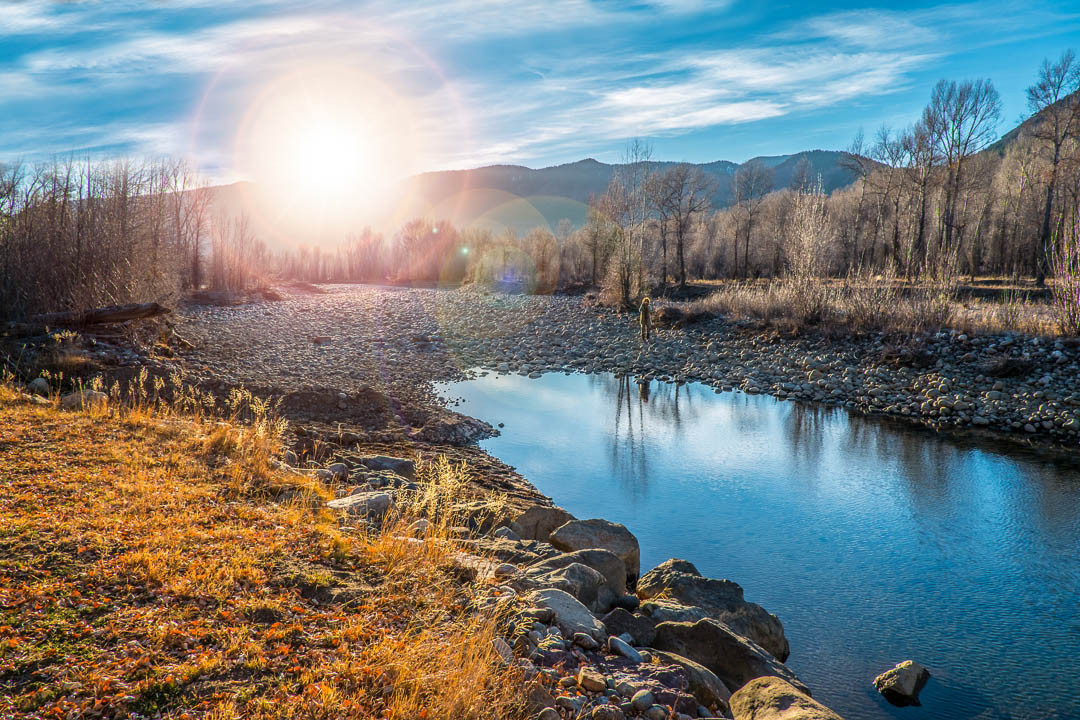
The smaller white sun from the darker exposure occupies the upper part of the frame while the brighter grass and river are from the lighter exposure. These shots were done, hand held so they didn’t quite line up. Photoshop has a great feature for Auto Aligning Layers under the Edit menu:
I opened the two images from Lightroom using “Edit In…” and selecting “Open as Layers in Photoshop…” After selecting both layers, I used “Auto-Align Layers” (see menu above) to get the two different shots in closer alignment and then just used a gradient mask to blend the dark top over the lighter bottom.
The take away here is to not be discouraged from shooting directly into the sun. Often you can arrange to remedy the lens flare in a number of different ways to get an unusual angle or capture an interesting backlit scene. Banish the pesky sun or incorporate it in a creative way! I have posted more images from this road trip on Flickr here: Zion-Durango-Zion






Perfect tutorial, like always. Thanks.
but;
“and managed to get shame photos in early morning…”
what do you mean by shame photos?
Those are not shame photos, Mr. Varis!
That should be “some” photos – thanks for letting me know – I fixed it now!