Use the Channel Mixer to Change Color Rendering
I had great fun with my infrared-modified Fuji X-E2 during our last trip to Venice for Carnival. The costumers made perfect subjects for the surreal rendering of the infrared captures. The modification of the Fuji camera removes the “hot” filter, but leaves the regular RGB mosaic in place so there is still some color captured, as well as the infrared wavelengths. The resulting color is often surprising—I normally use a custom white balance that renders foliage as neutral, but other subjects can get a blue or brown rendering and sometimes dark tones will “light-up” in odd ways. One can accept the color rendering or alter it for creative interpretation. One of my favorite methods for infrared captures, is to “swap” the red and blue channels. Lets look at this using the following image as an example:
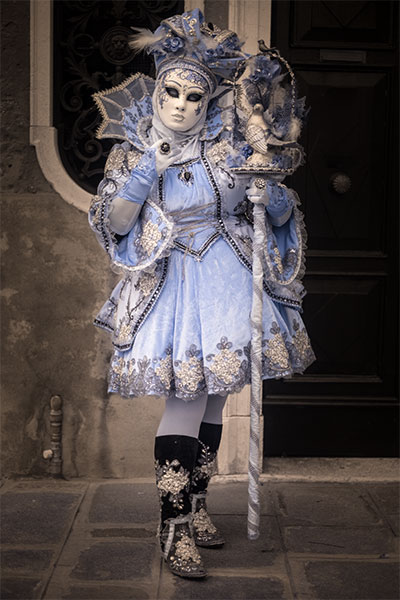
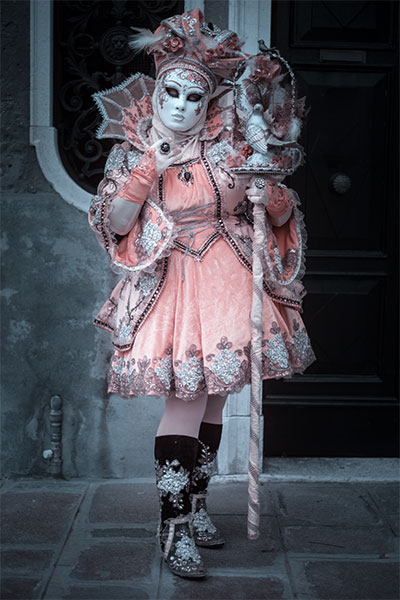
The original image as captured by the infrared Fuji XE-2
This infrared capture looks nothing like the regular color, and there is a muted blue-brown palette typical of the custom white balance I use in-camera. Psychologically, cool colors recede and warm colors come forward—this particular rendering has a cool subject, and a warm background. I’d prefer to have it the other way around, and put the cool color into the background. The solution is fairly simple—swap the red and blue channels in the RGB image and the color rendering here will get inverted. This is easily accomplished with a Channel Mixer adjustment…
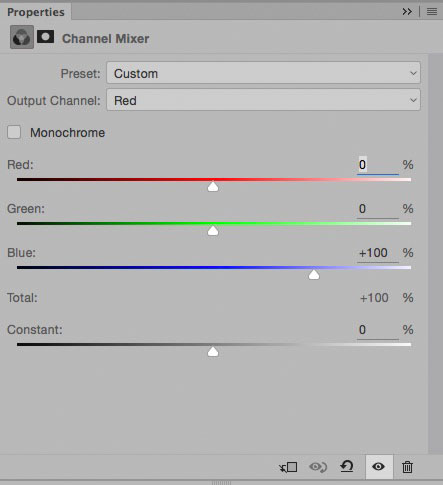
Set the red channel to use 100% of the blue channel, and zero red.
Arranging for the red channel to be 100% of the blue and the blue channel to be 100% of the red…
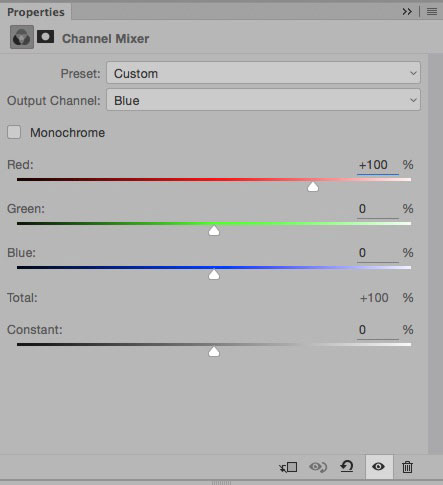
The blue channel set to 100% of the red, and zero blue.
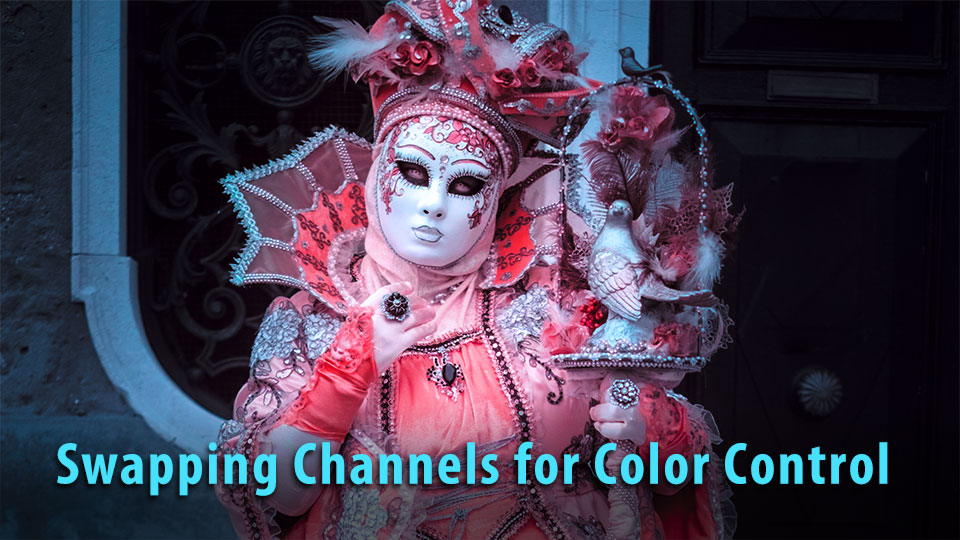
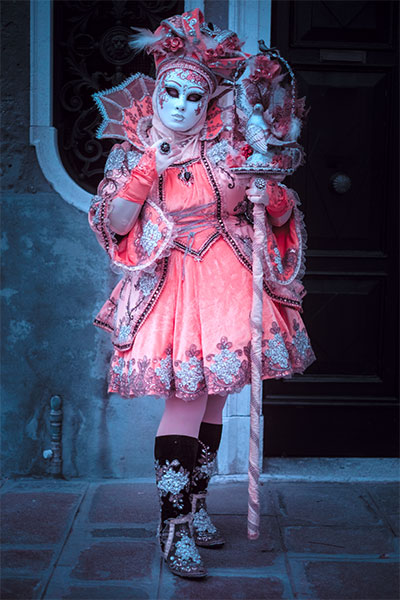
Voilá… instant color invert without losing the overall luminance appearance!
The new color rendering puts cooler tones in the background and makes the costume a warm reddish brown.
Now I want to amplify the color, so a quick trip into Lab, and…
Lab color space is ideal for pushing the saturation.
Now a few more simple adjustments to fine tune things and…
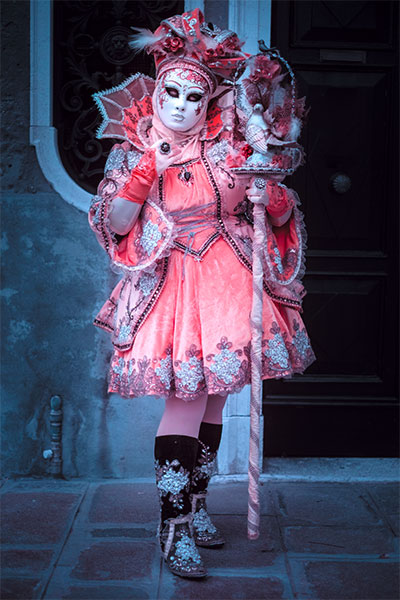
The final version has some subtle sharpening and the face brightened and neutralized.
The layer stack shows how the adjustments were made – the Lab color was done in a duplicate converted to Lab, and then brought back into the original RGB. These layers offer maximum flexibility for changes later on.
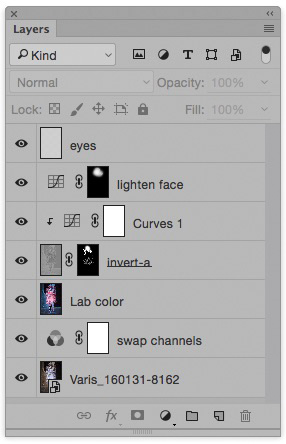
The inverted “a” channel layer is set to Overlay blend mode to add a bit more richness and contrast to the red color, seen mostly in the gloves and collar. Now the red costume really comes forward, and the subject literally pops off the cool background—the color contrast matches the subject much better than the original odd infrared rendering.
Here are some other infrared images captured during our last trip in Venice—click on thumbnails to see larger images…