Sometimes I want to “dress-up” an otherwise decent photo to create something special. Of course its always better to have a strategy for this at the time of the shoot, but often one doesn’t have time, or resources, or one re-visits an image and just gets a better idea. Such was the case with this image, which was originally done for a video game package design that I was not in charge of. You can find a blog post about the original shoot here!

Click the Refine Edge button to get a better mask edge.
I simply set a 10-pixel radius for edge detection in the resulting dialog and then clicked “OK” – again I was completely unconcerned with the hair. The result is shown below:

The mask is detailed everywhere except the hair – to preserve all the fine hair wisps I will use another technique.
So, right now I have two duplicate layers of the dancer – the top one is fully masked, the bottom is the original unaltered layer – I’m going to use this one for the hair wisps. The original bottom image is shot against a plain gray background, I now need this gray to become as close as possible to a level 128 gray. So I make a curves adjustment layer and make sure its clipped to the underlying layer. I then adjust the curve so that the background tone right behind the hair reads 128 in all three channels.

The curve adjustment forces the background tone to be 128 gray – this is a neutral color for Overlay, Softlight, and Hardlight blend modes, so it will completely disappear when she is blended over the Background – I will use Hardlight mode!
Next I select all three layers…

Shift-click to select all three layers.
and then select “New Group from Layers” from the Layer Options fly-away menu…

New Group from Layers
The Layers are now contained in a “Group” represented by a little folder icon in the Layers stack. This Group can be treated as if it were one layer!

The Layer Group can be dragged onto the new background as if it were a single layer.
Now simply drag the Group out of the figure document by click-dragging, from inside the window with the Move tool, up to the Tab for the new background & down into the new Background window.

The figure Group is now on top of the new background image.
Now I select the bottom figure layer (the one without a mask) and change the Layer Apply Mode to Hardlight, using the blend mode drop down menu.

Hardlight blend mode will drop out the gray background from the bottom figure layer.
The gray background of the bottom figure layer completely disappears where it is exactly 128 – there are a few spots at the edges where it is subtly visible but these can be masked – we only need to preserve the parts of this layer where the hair lives!

The edges of the figure group need to be blended – we will do that with a mask in the bottom figure layer.
I now select the bottom figure layer, and make a layer mask where I can paint with black to mask off the edge and leave jsut the part with the hair.

The mask for the bottom figure layer
Now I select the top figure layer, and because I don’t want to mess with the existing mask (because I want to protect it from mistakes), I select “New Group from Layers” from the Layer Options fly-away menus at the upper right of the Layers Panel. This puts the layer with its mask into a group that I can attach another mask to. Now I simply paint out the hair wisps with black in the group mask.

The top figure group mask hides the unmasked hair from the top figure group so the the hair wisps from the bottom figure “Hardlight” layer can show against the new background.
The result is a completely seamless blend of the very fine hair wisps with the new background. I show a very detailed step-by-step video tutorial on YouTube here.

The fine hairs wisps blend naturally into the new background in a convincingly natural way!
Next I use the mask of the top figure layer (inside the group) to create a mask fro and adjustment that darkens the background in a way that suggests the type of shadow effect you would get from the drag shutter effect. When you use a slow shutter speed with flash front light against a continuous light background, you get a shadow where the moving subject is displaced during the exposure.

Dragging the shutter is a term used when you shoot with a slow shutter speed with flash – it can create a distinctive “shadow effect” against a bright background.
Next I add a motion blurred hair layer underneath everything as an additional “hair shadow” to help sell the effect. To help separate the dark hair from the background, I lightened the background & cooled it off a bit with a curve adjustment.

The final figure with edge shadow, extra hair shadow, and lightened background
The Layer stack looks like this in the end.

The final layer stack – I always make sure to label everything before I quit so I can return to the document and re-edit as necessary! It definitely helps me remember what I did.
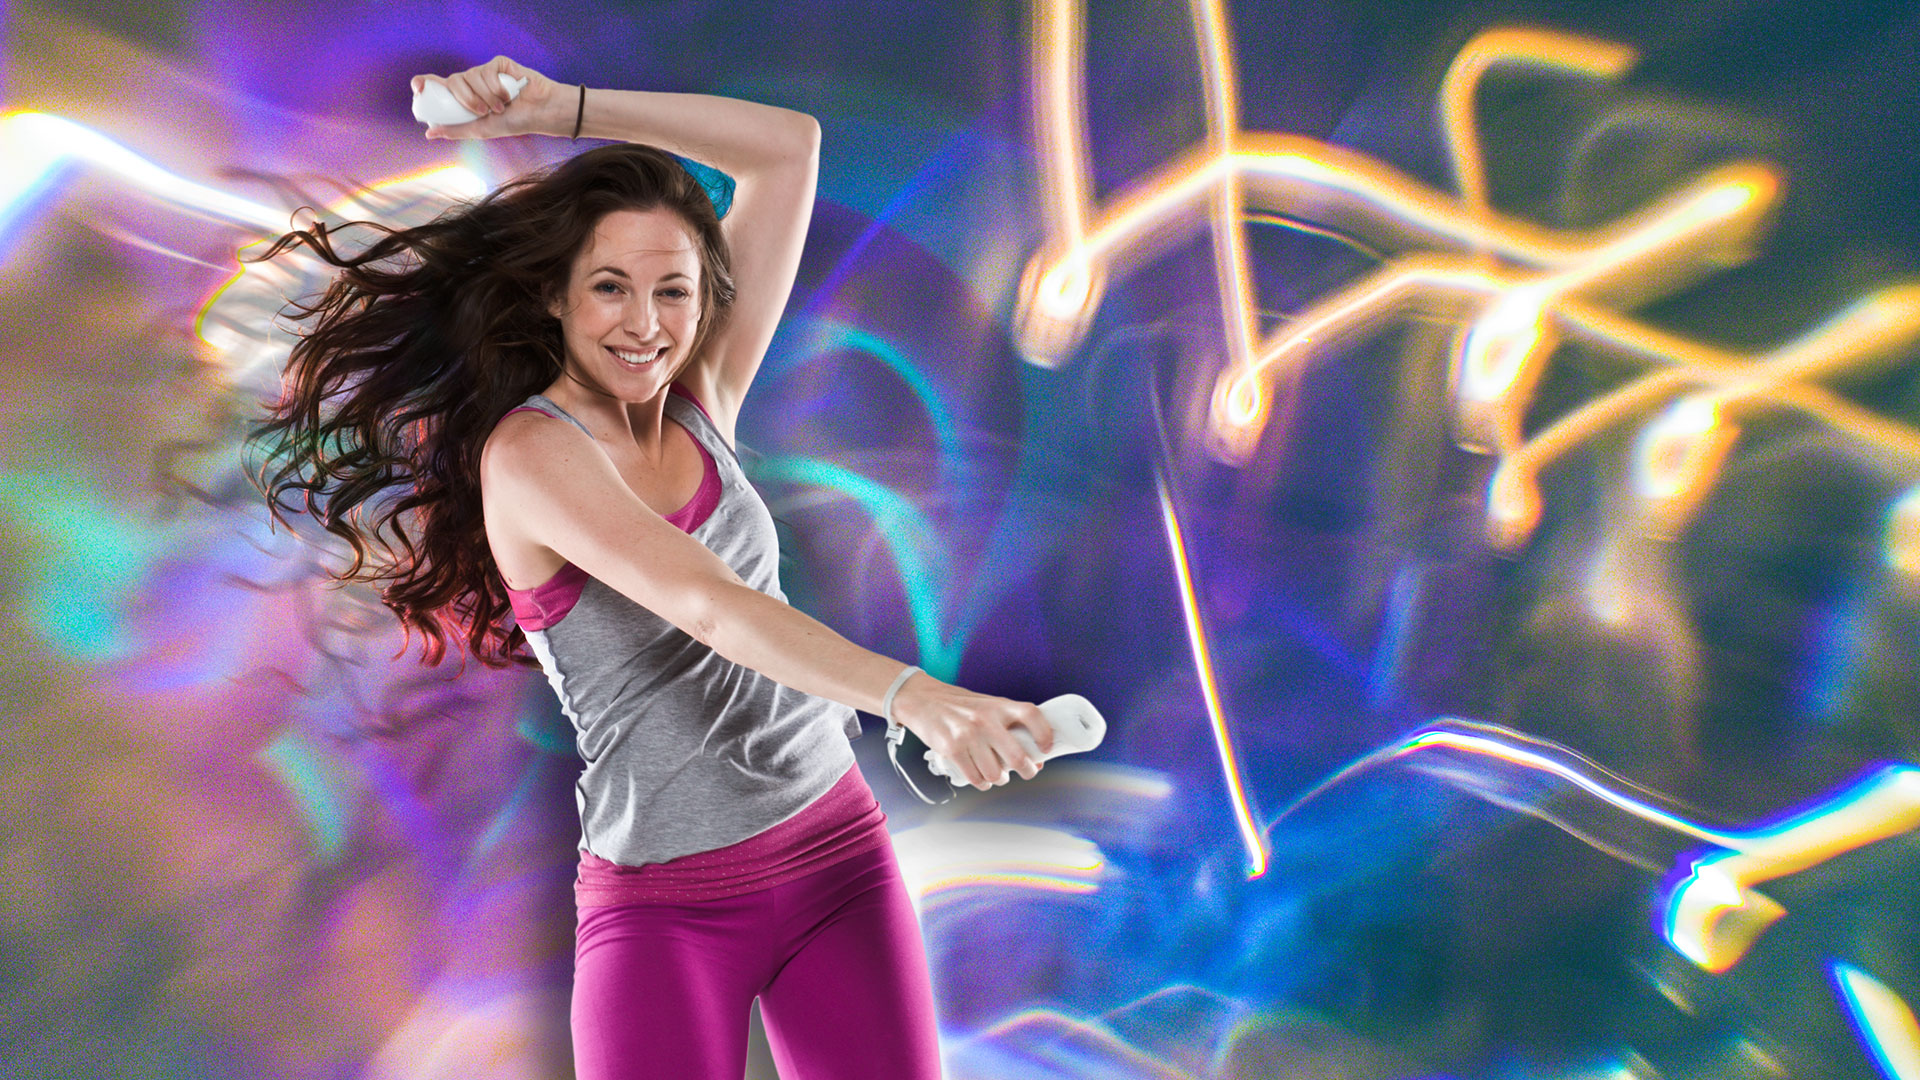
Here is the completed Image!

Final Image
I hope this gives you an idea for your own images. I now prefer to shoot on a medium gray background, whenever possible because it gives me so much flexibility with how I can treat the background. This image combines two scenes that were shot in completely different ways with radically different lenses but somehow manages to look fairly convincing. Although a real drag-shutter shot can be awesome, it is very difficult to control and the best shots are often happy accidents. Using this approach you can craft the image exactly the way you want it with complete control over all the elements.

Up Coming Events
Join Bobbi & Lee on a five-day, small group photographic exploration of the many diverse and ethnic areas that comprise this grand mosaic that is New York. The photo locations are ones that out-of-town visitors and many residents rarely visit. We will walk the streets, ride the subways, and be always in the thick of it. Lunches are in restaurants that are consistent with the ethnic demographic of the neighborhood. The experience offers you many opportunities to photograph the daily life of people and explore colorful and remarkable locations that make up the richness of this city.
Join us for a magical photo-vacation adventure in sun soaked Tuscany. We are taking over a villa in the Val D’orcia region of Italy near Siena. The luxury villa has a pool, jacuzzi, and sauna, 9 bedrooms, full vegetable garden, with a vineyard, and fantastic views of the countryside. The Villa is located on an organic farm estate that extends for over 300 hectares, in the beautiful rolling hills of Val d’Orcia, a wonderful area in Tuscany nestling between Siena, Montalcino, the Crete Senesi, Pienza and Montepulciano. Renovated in 2014, Villa Mariolina is a truly luxurious villa, equipped with all comforts and amenities. It is centrally located in some of Tuscany’s most impressive scenery and in an area protected by UNESCO for its beautiful scenery
Bobbi and Lee lead you on a tour that explores the natural beauty of the Scottish highlands, including the beautiful Isle of Skye, and Lewis and Harris, in the Outer Hebrides. This tour is ideal for photographers (both experienced and budding), nature enthusiasts, and anyone who dreams of experiencing the best of Scotland’s stunning landscapes. From the picturesque villages to the rugged coastlines and dramatic cliffs, you’ll capture the unique beauty and essence of Scotland with your camera. Our knowledgeable tour guides will make sure you get the most out of your experience, and we’ll provide you with the tools to capture truly unforgettable photos.
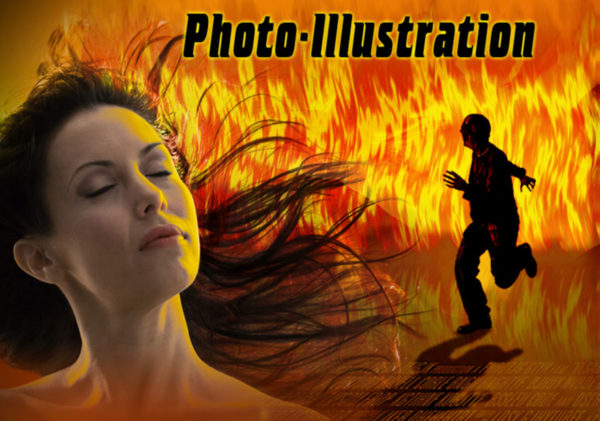
Enroll in my Photo-Illustration in Photoshop Course
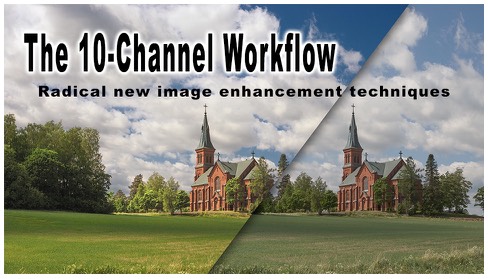
Enroll in my 10-Channel Workflow Course
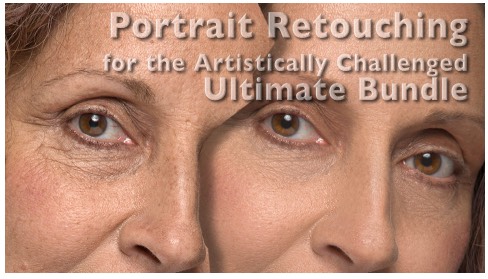
Enroll in My Portrait Retouching Course
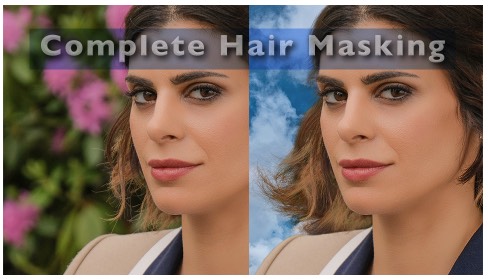
Enroll in My Hair Masking Course
Get the Lume Cube at a Discount with code: Lee10
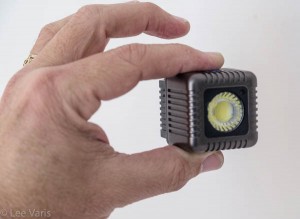
The amazing Lume Cube is a powerful LED light that can be controlled through a mobile app!
Buy My Books on Amazon

10 Commandments of Backup
